- Home
- Installations
- Lighting control
Installations
Lighting control with Shelly
Choose the right device, connect the right switch, and set it up so the light feels right.
Updated: October 2026
Choose the device
Light can be controlled in many ways, and several Shelly devices can do the same job. These are our picks for each type of lighting – one for a back box behind the switch, and one for DIN rail in the distribution board.
On/off – lighting that is not dimmed
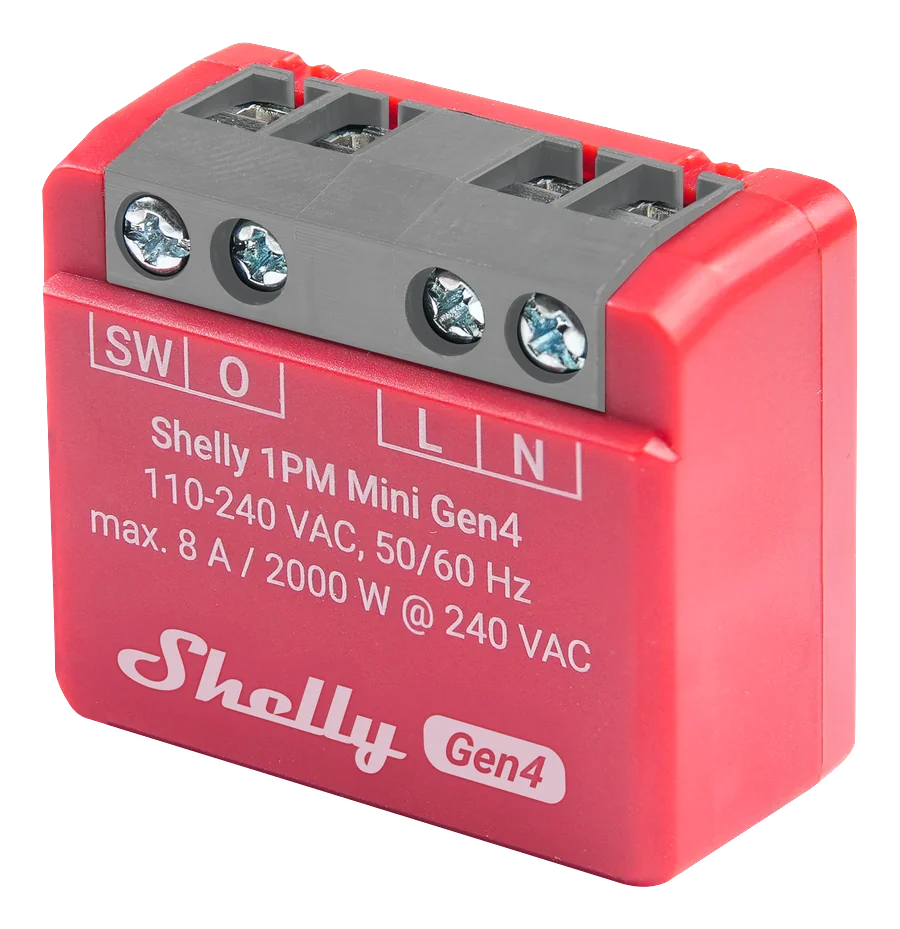
In-wall. Small enough for a back box behind the switch.
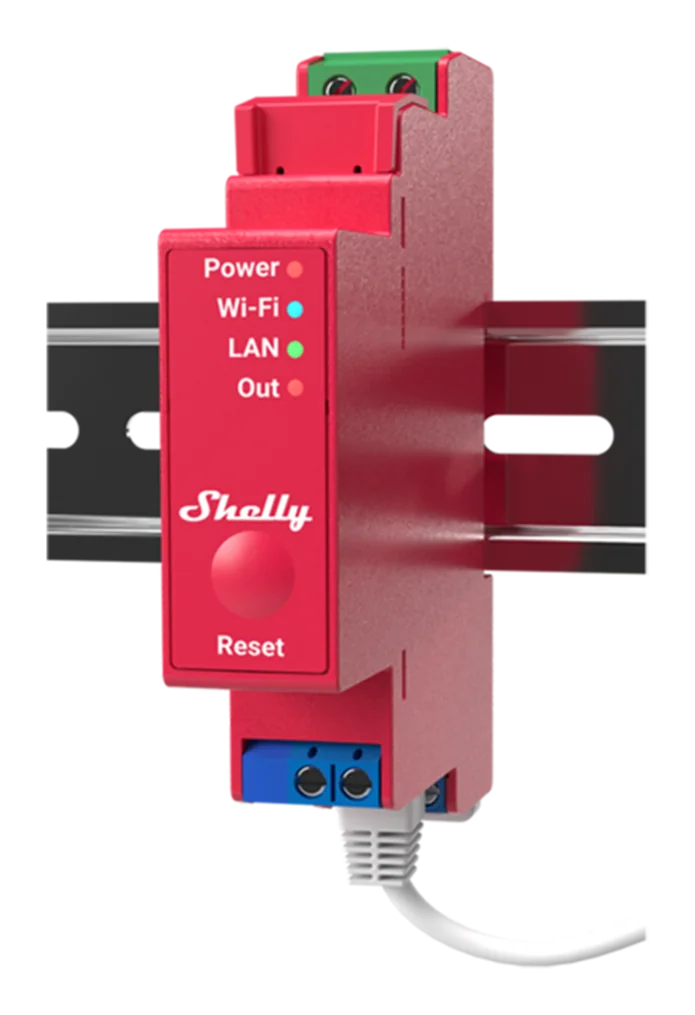
DIN rail. For lighting circuits switched from the distribution board.
Dimming 230 V LED lamps
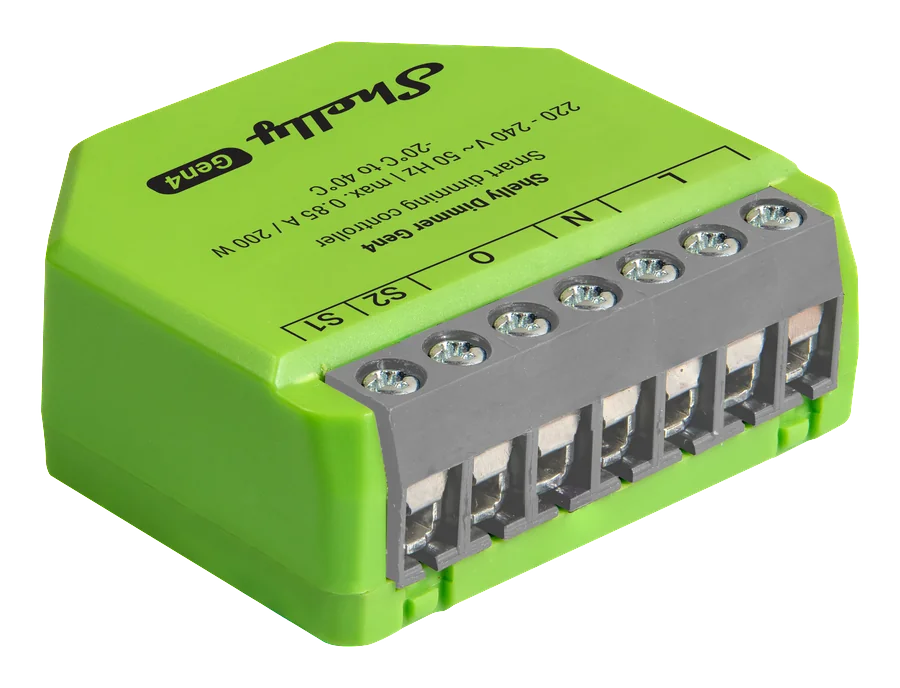
In-wall. Works without a neutral.
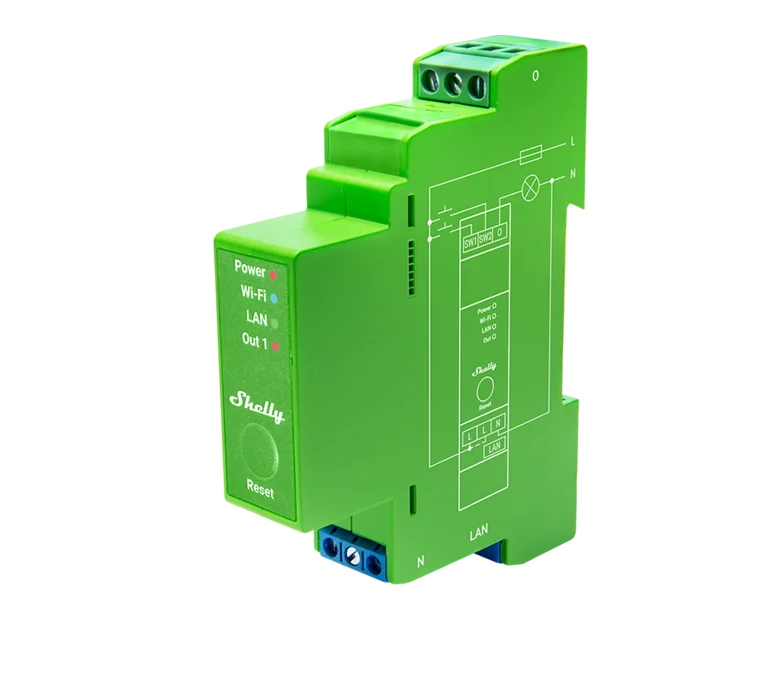
DIN rail.
12/24 V LED strip
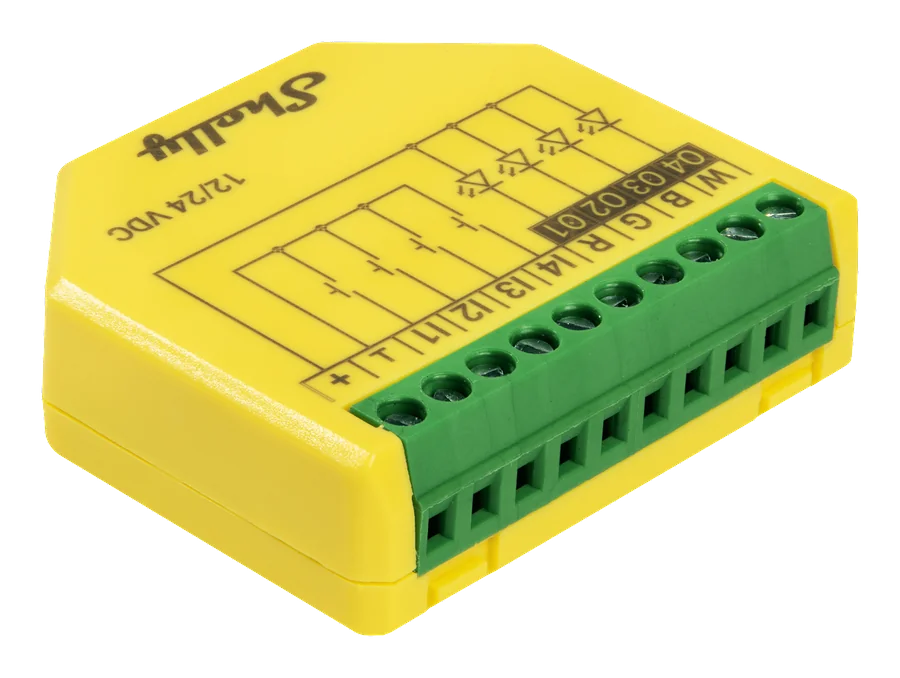
In-wall.
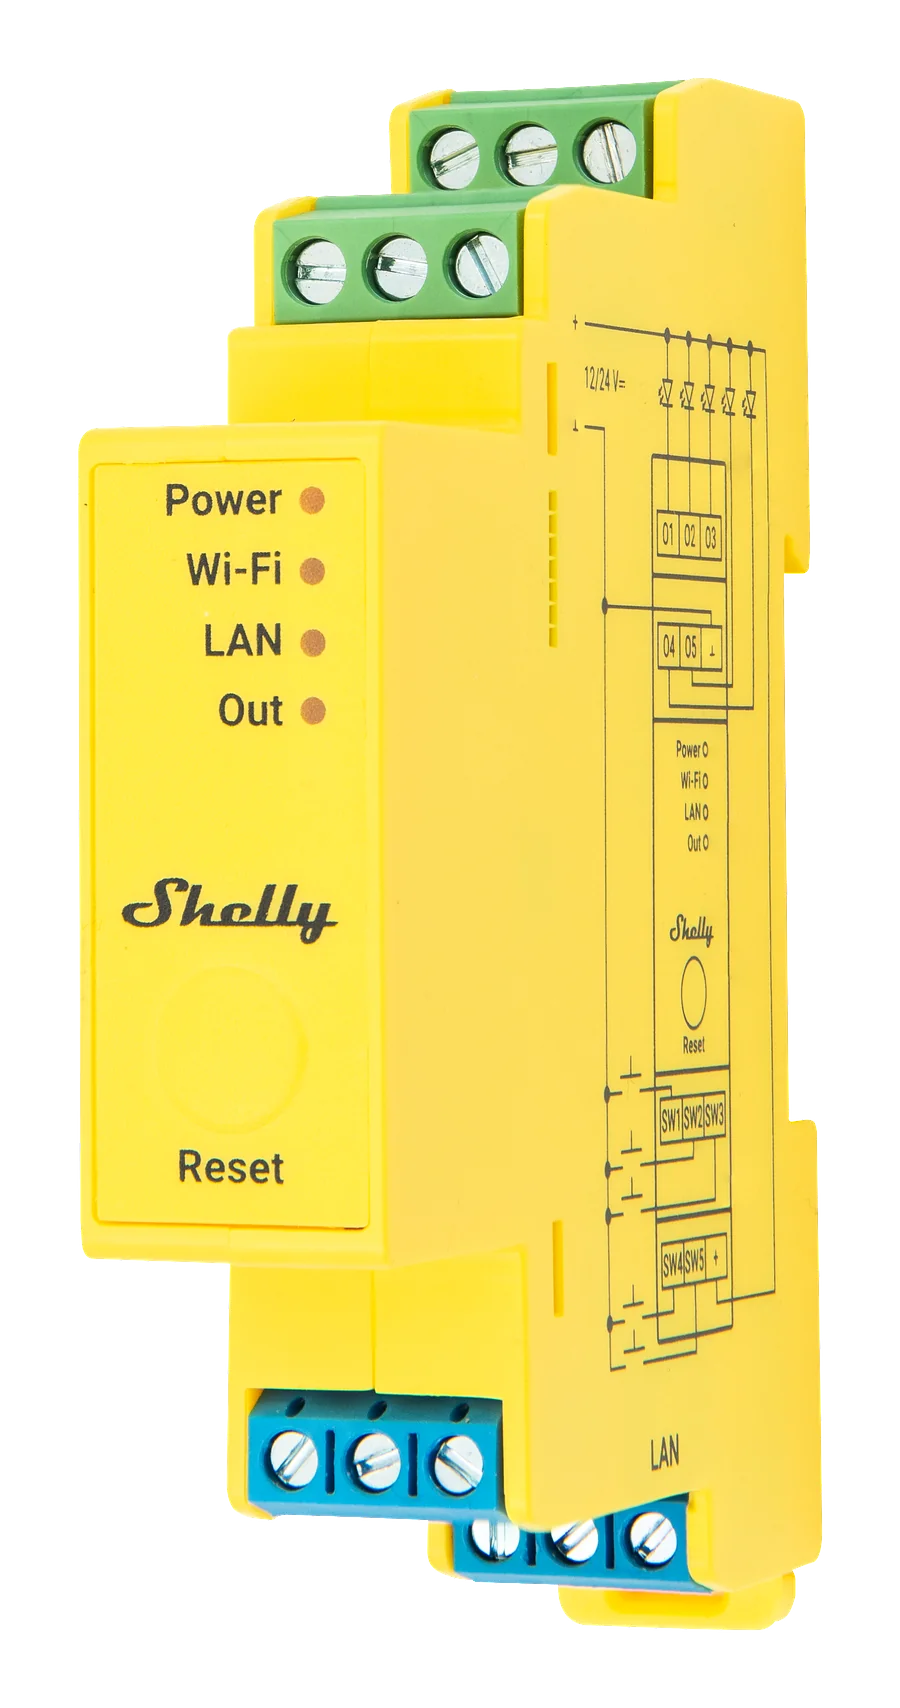
DIN rail.
Supply the controller from a non-dimmable 12 V or 24 V power supply. The controller dims on the DC side – never put a phase dimmer in front of the power supply.
| Strip type | Plus RGBW PM | Pro RGBWW PM |
|---|---|---|
| Single-colour white | Yes | Yes |
| RGB | Yes | Yes |
| RGB + white (RGBW) | Yes | Yes |
| RGB + tunable white (RGBWW) | No | Yes |
| Tunable white (2 × WW) | No | Yes |
Why a phase dimmer is the wrong answer for a strip is explained in LED strip control.
DALI
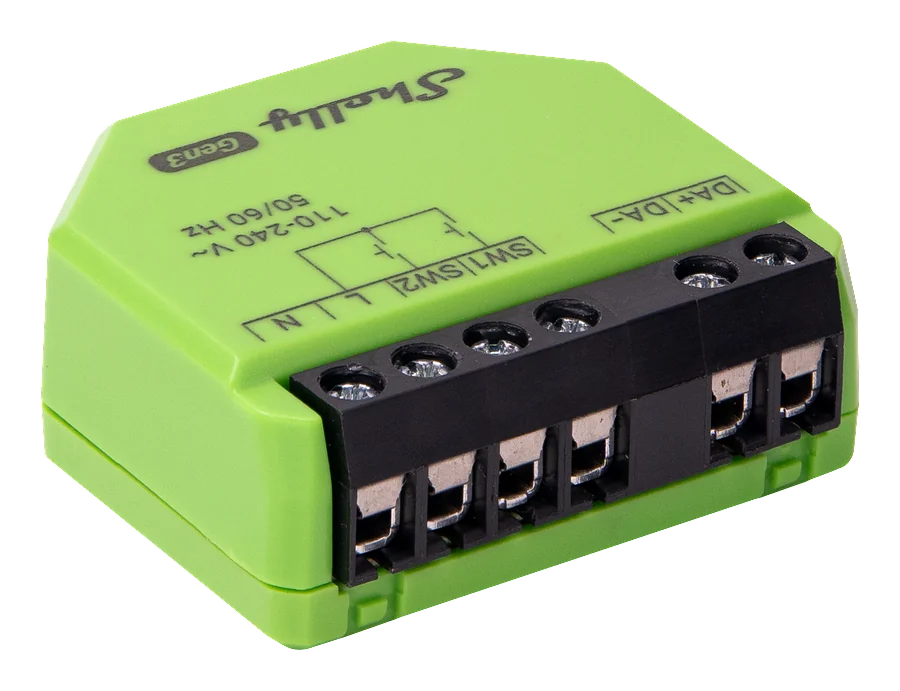
The DALI Dimmer controls all connected DALI drivers as one group (broadcast) – the drivers are not addressed individually. Its built-in bus supply powers up to 5 drivers. For more, add an external DALI-certified bus power supply.
0/1–10 V
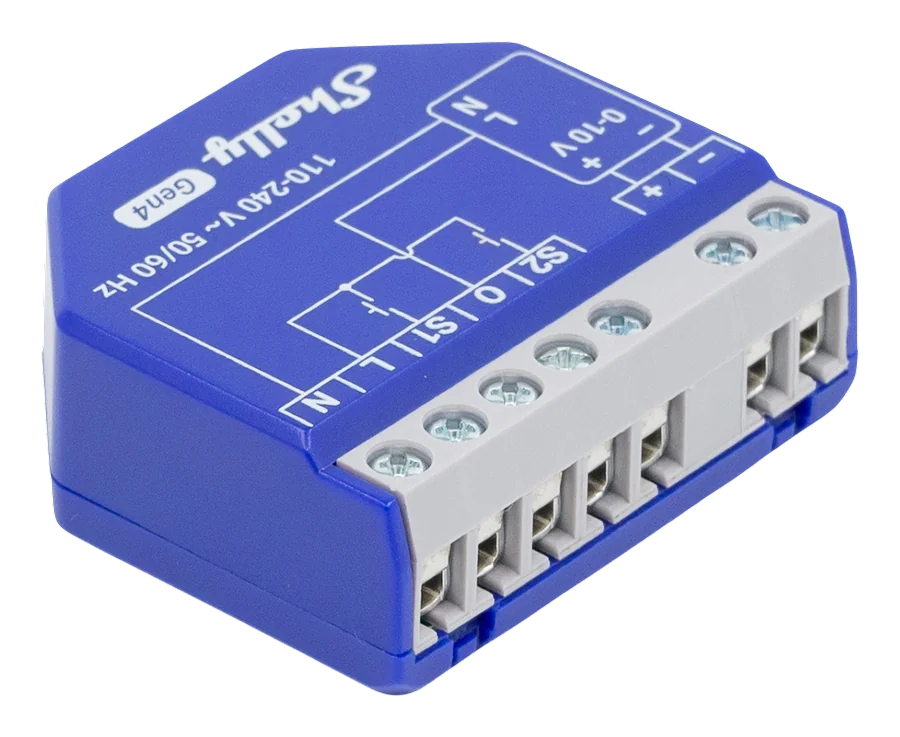
In-wall.
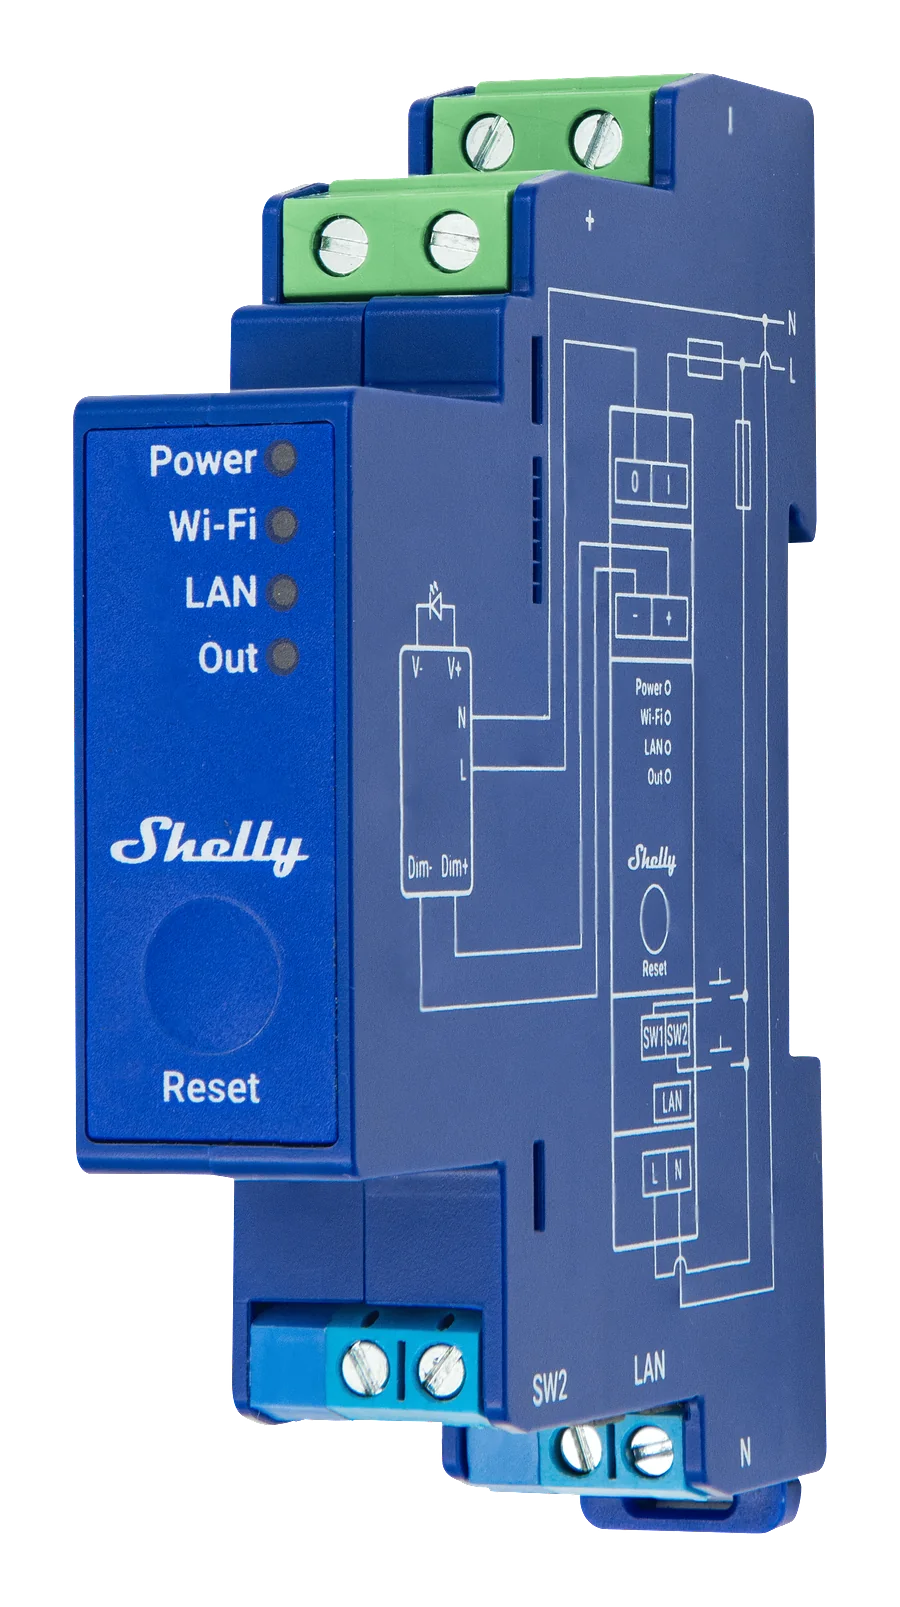
DIN rail.
The relay switches the driver’s supply on and off, and the analogue output sets the level. Set the device to 0–10 V or 1–10 V to match the driver.
Open the tool Device finder Filter the range by application, mounting, supply voltage and metering.Connect the switches
Every Shelly device can be controlled from a switch. There are three ways to do it, in order of preference.
Wired switch – the first choice
A switch wired to the device’s own input. This works 100 % offline – it does not depend on the internet, Wi-Fi or any other wireless connection, and there is no pairing to redo and no battery to change.
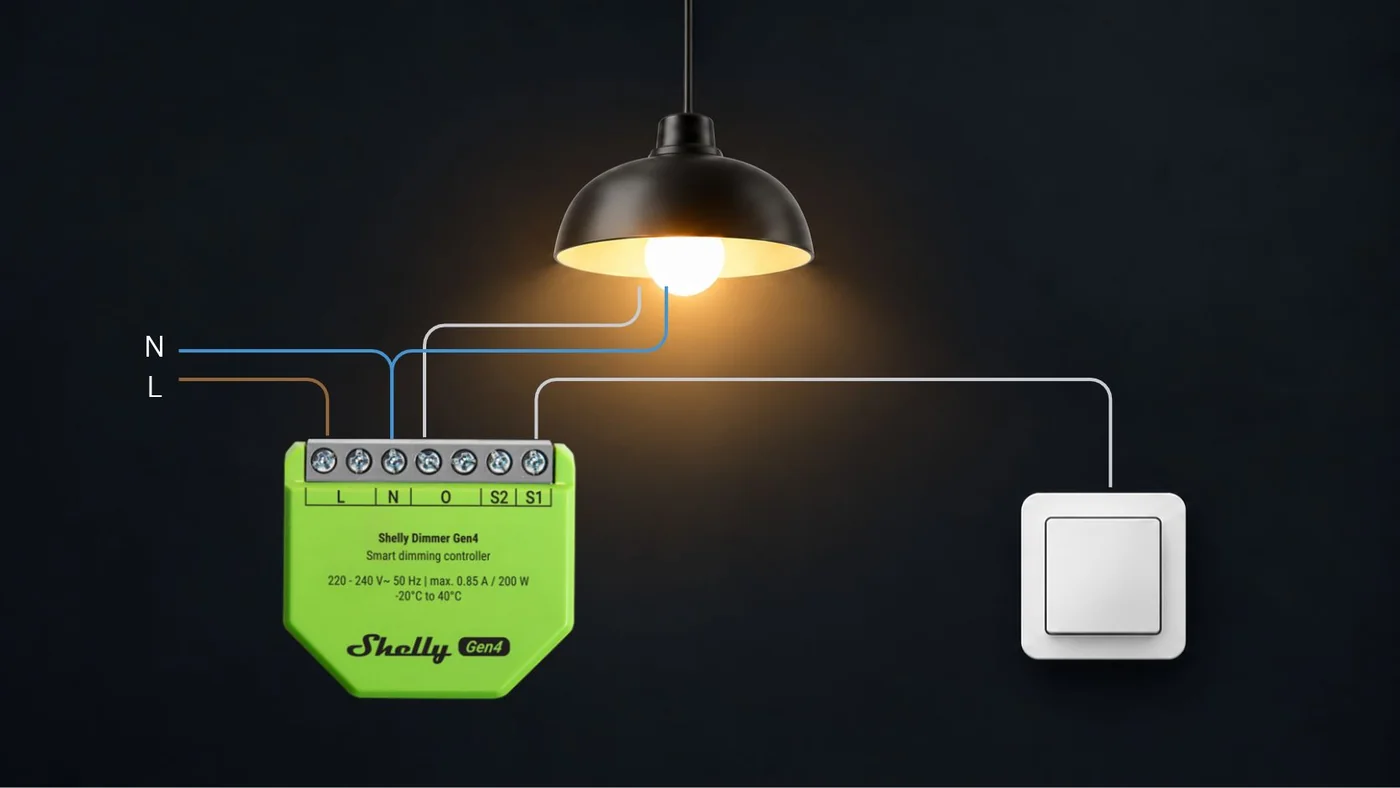
With a momentary switch you get everything: press to toggle, hold to dim, double-press for full brightness.
Where there is already a wire to the switch position, use it. In a renovation this is often the case even when the customer assumes otherwise – an old low-voltage installation, a two-way circuit with a spare conductor, or a switch loop that can be reused.
BLU battery switch – where no wire can go
A Shelly BLU Wall Switch 4 ZB – or the ZB DK variant for Danish switch systems – pairs directly with the device over Bluetooth. It gives you on, off, dim up and dim down, and like a wired switch it works without Wi-Fi and internet, so it can be used as a stand-alone solution.
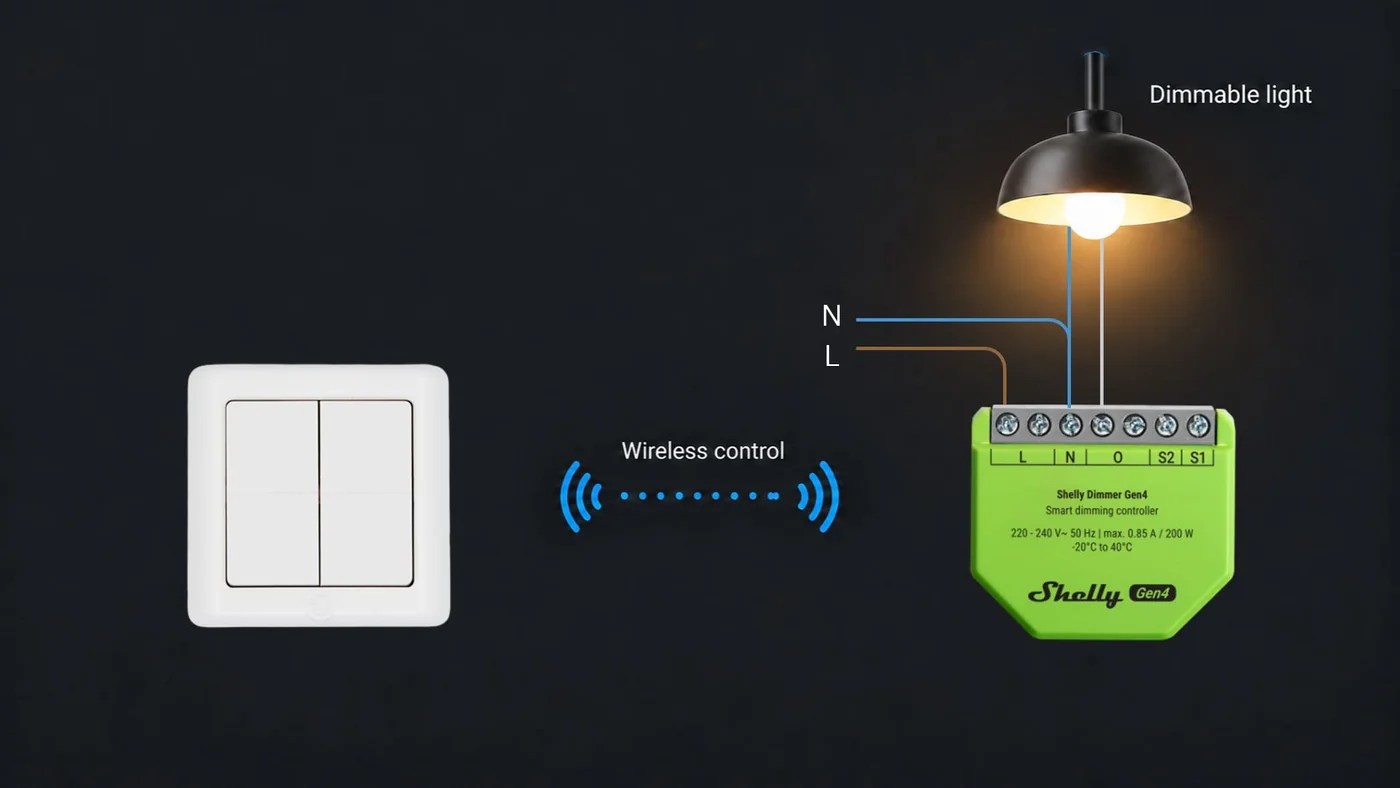
What you accept in exchange is a battery to change every few years and a range of roughly ten metres indoors. The full setup is in Dimming with BLU Wall Switch.

For standard switch frames.
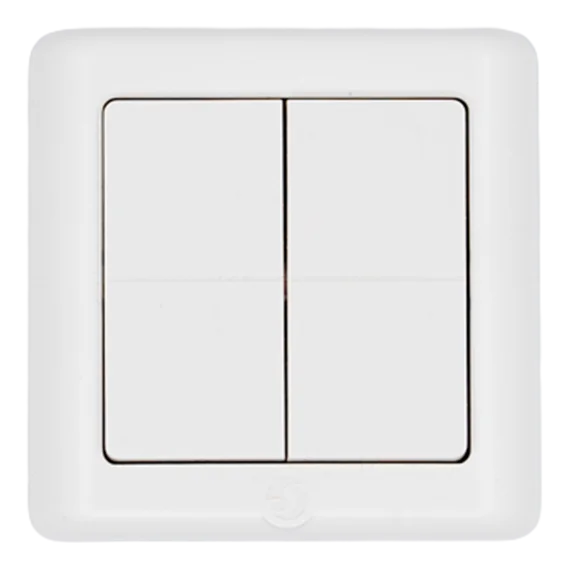
For Danish switch systems.
Input module – switches in one place, lights in another
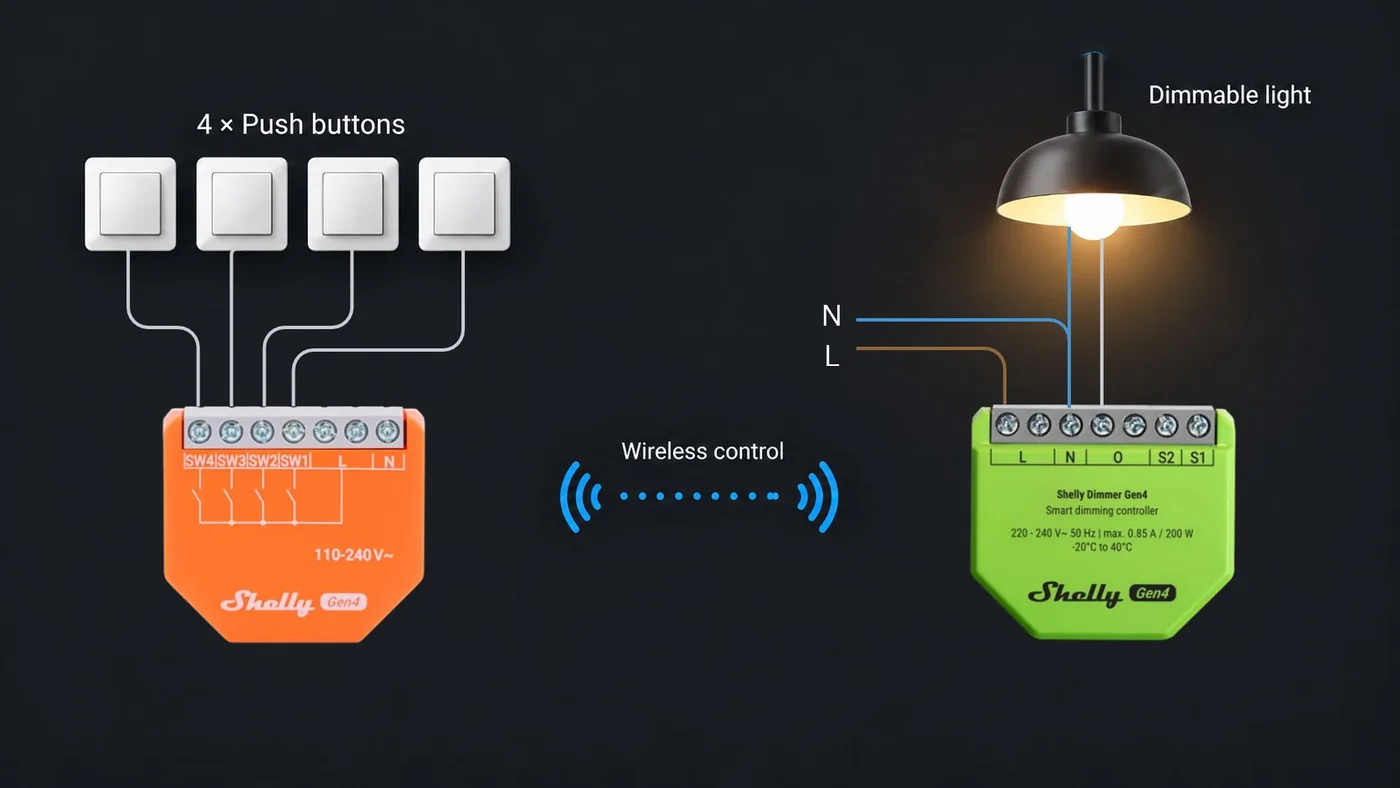
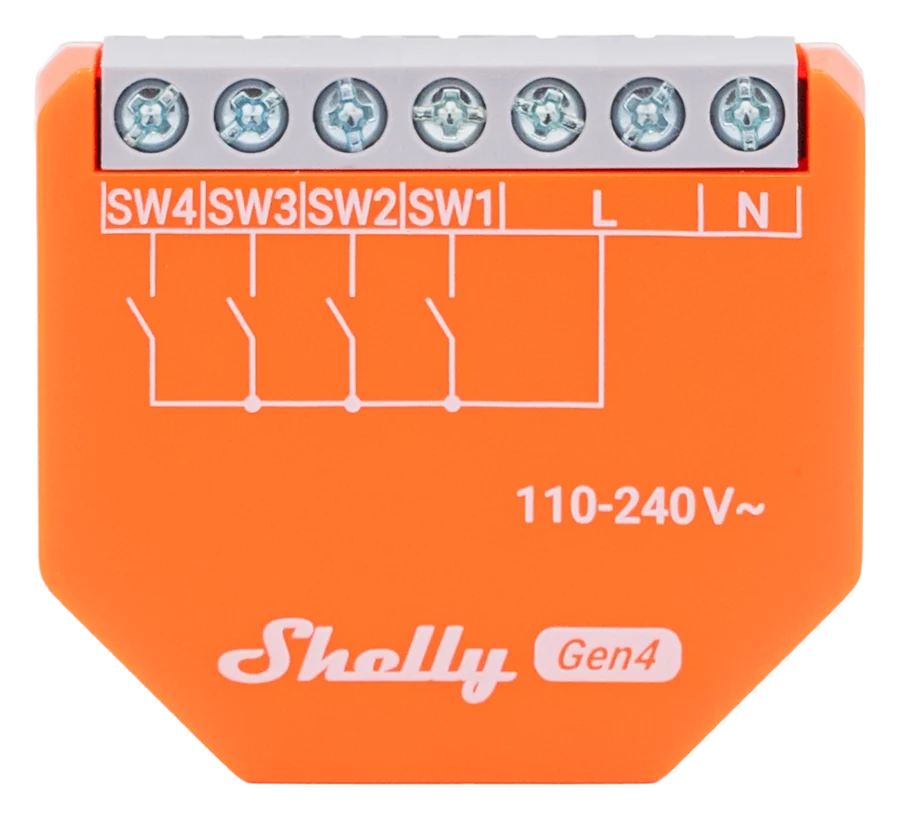
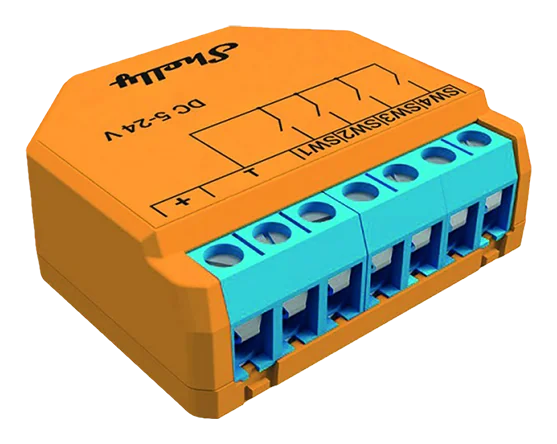
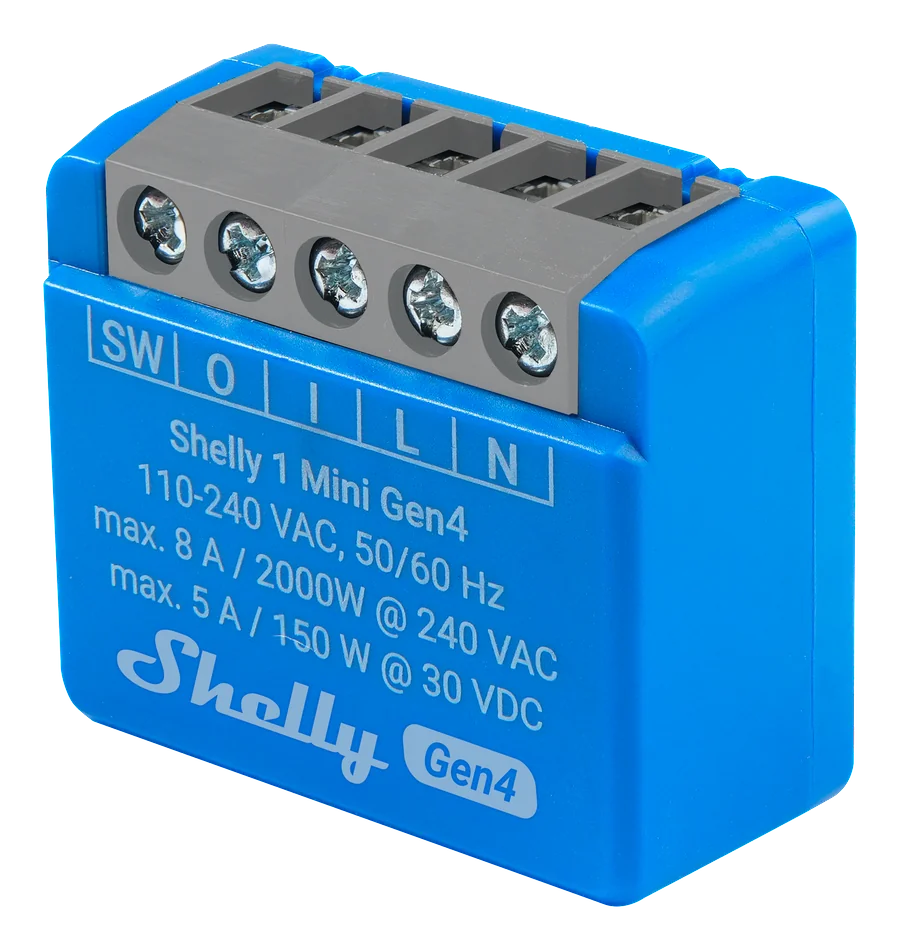
Where existing wired switches have to control lights somewhere else, an input module reads the switches and passes the presses on.
- Shelly i4 Gen4 – four 230 V inputs.
- Shelly Plus I4 DC – four low-voltage inputs, the right choice when the existing switches are already low voltage.
- The input of another device, for example a Shelly 1 Mini Gen4. It fits where an i4 will not, and you only use its input – the relay output stays unused.
The simplest way to link them is a scene in the Shelly app, which runs through the cloud. If you want the control to be 100 % local, the devices can talk to each other directly: when device 1 registers a press – short, double, triple or long – it sends a message straight to device 2. See Dimming with an input module.
Add sensors
For lighting that switches itself, the devices can be combined with sensors.
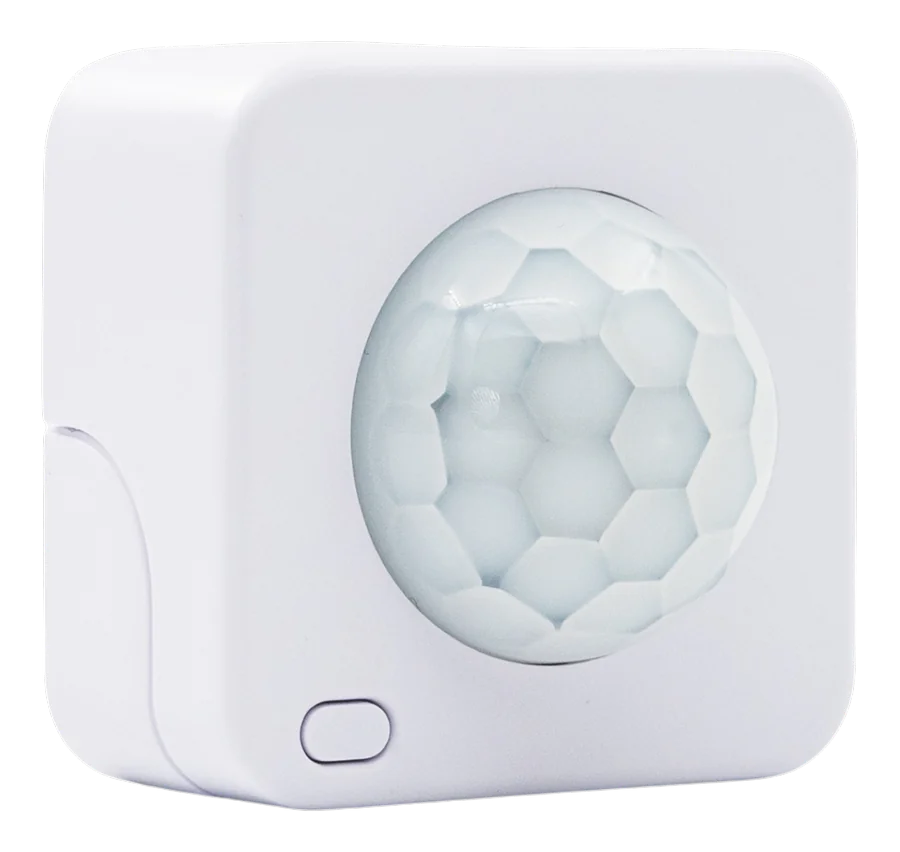
Motion – Shelly BLU Motion ZB
A battery-powered motion sensor. The right choice for corridors, stairs, utility rooms and other places where the light should follow movement.
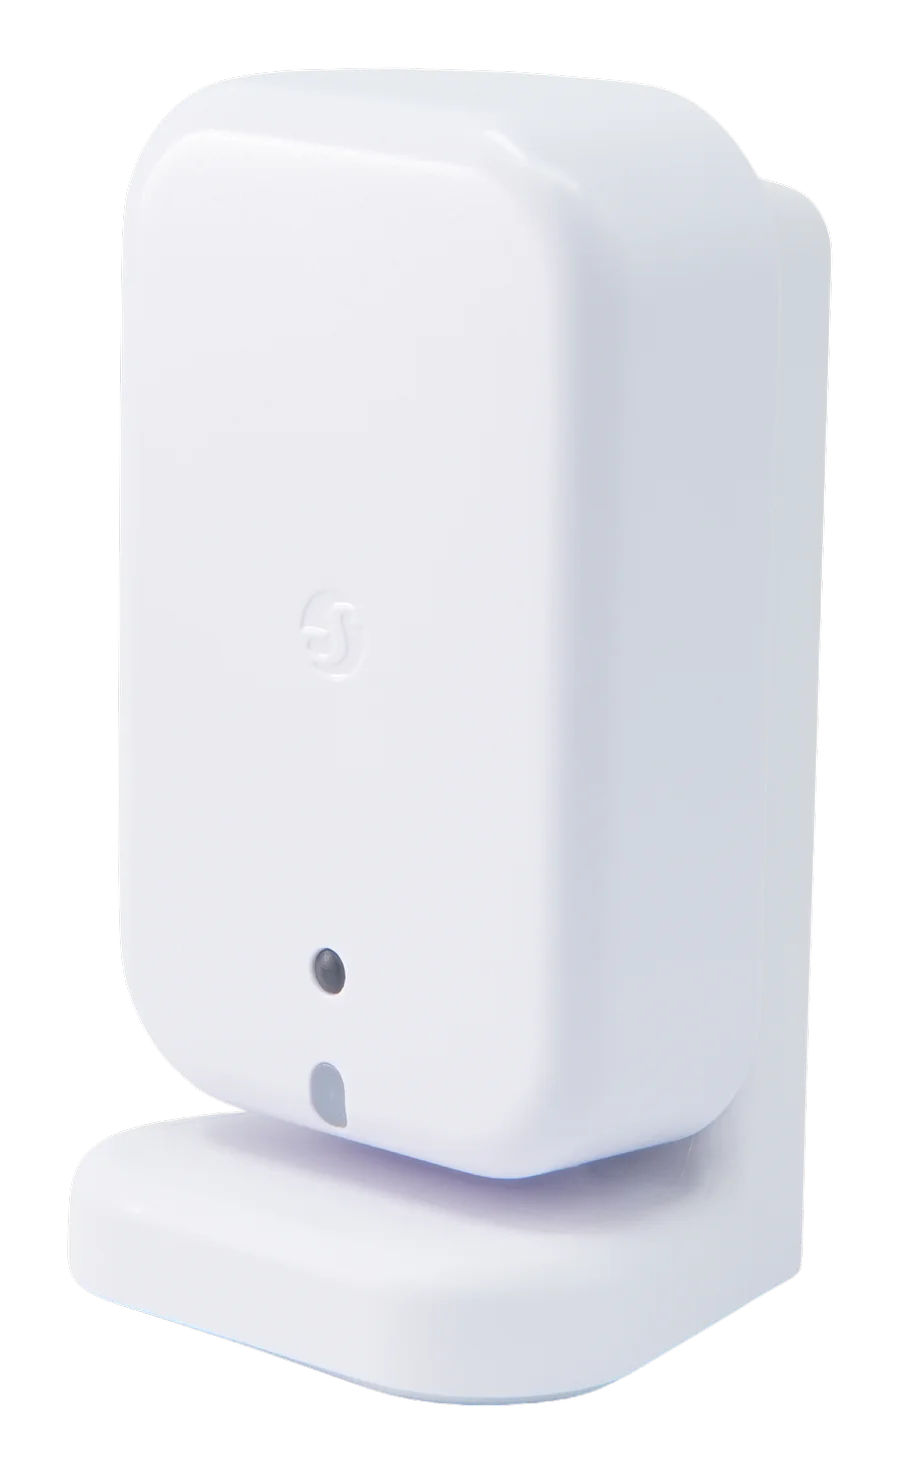
Presence – Shelly Presence Gen4
A mmWave sensor that detects people even when they sit completely still. The right choice for dining areas, sofa areas, meeting rooms and offices, where a motion sensor would switch the light off on someone reading.
The sensor needs a 5 V USB-C supply. Fit a USB-C outlet in the ceiling close to the sensor and use a short USB-C cable.
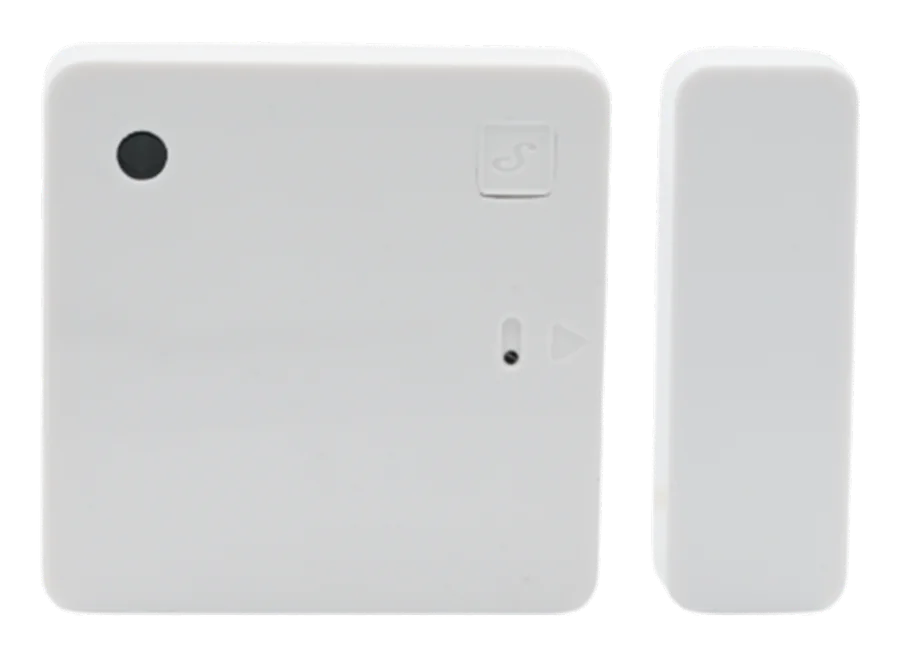
Door/window – Shelly BLU Door/Window ZB
A little unconventional, but very comfortable: the hall light comes on by itself when the front door opens after sunset.
Outdoor – any 230 V motion sensor
Shelly does not make an outdoor motion sensor, but any 230 V motion sensor can be wired to a Shelly input.
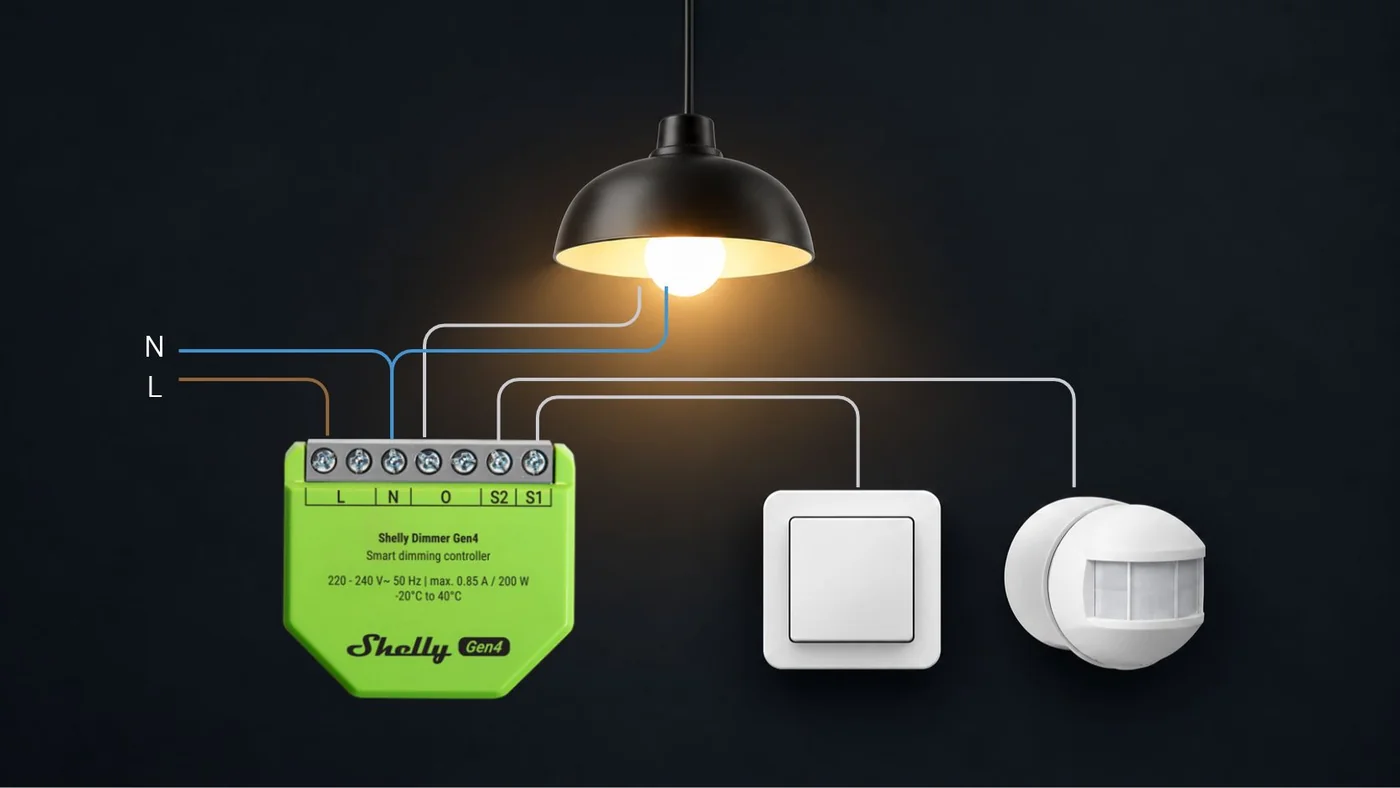
The simplest way is straight to the dimmer. Shelly Dimmer Gen4 has two inputs:
- S1 – a push button or an ordinary on/off switch for manual control. Use it to override the sensor and keep the light on.
- S2 – the motion sensor, which switches the light on automatically.
The video PIR control with a constant-on override further down shows the setup.
Where the sensor is far from the dimmer, a Shelly 1 Mini Gen4 can read it instead – often fitted inside the sensor or in a junction box – and send a command to the device that switches the light.
Note: some motion sensors leak a small current when off, which the Shelly can read as the sensor still being on. In our experience, Niko (Servodan) sensors do not have this problem.
Built-in functions
Every Shelly lighting device has the functions most installations need – no hub and no scripts:
- Night mode (dimmers and LED controllers) – limits the brightness in a set period. The bathroom light comes on at 20 % at three in the morning instead of full brightness.
- Sunrise and sunset – switches the light on and off by the sun. Check that the device’s location and time zone are set correctly, or the times will be off. See Scheduling.
- Weekly schedule – switches the light at fixed times. See Scheduling.
- Auto-on and auto-off – switches the light back on or off after a set time. Auto-off is the classic for stairwells and outdoor lighting.
Set up the dimmer
A handful of settings decide how a dimmed light feels, and they take minutes to set. In the Shelly app or at control.shelly.cloud, open the dimmer, then Settings → Device settings. The highlighted settings are the ones covered below.
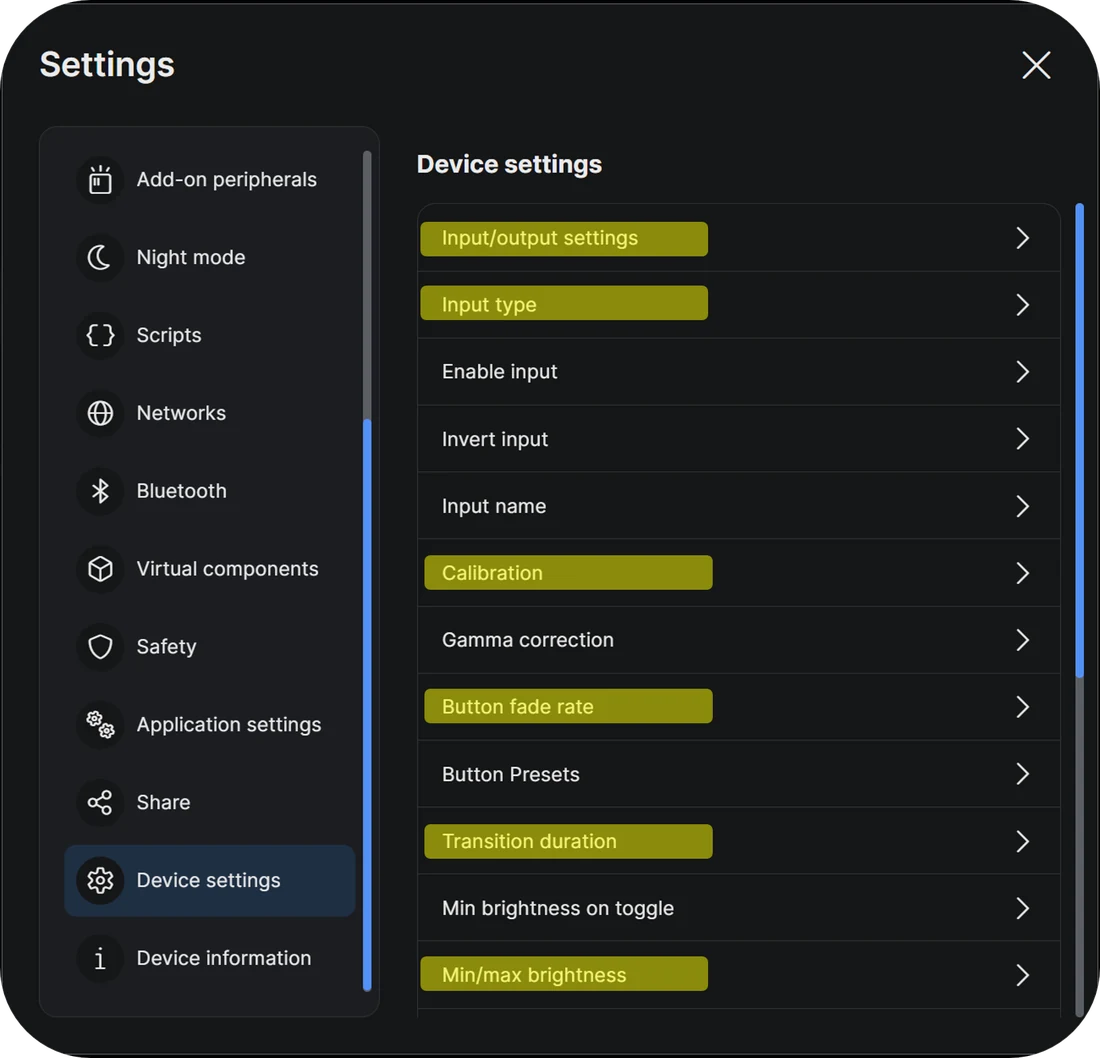
Using the dimmer stand-alone without the app? The same settings are in the web interface: connect to the dimmer’s own Wi-Fi network and open 192.168.33.1 in a browser. See The web interface.
Input/output settings and input type
The setting that decides how the light feels is the button type, and it must match the switch that is physically fitted. Input type tells the dimmer whether a momentary switch (button) or an ordinary toggle switch is connected. Input/output settings decide what the input does – and what the light does after a power cut.
| Setting | Use when | Behaviour |
|---|---|---|
| One button | A momentary spring switch or push-button | Press toggles, hold dims up and down, double-press goes to 100 % |
| Dual button | Two switches or a rocker pair | SW1 on and brighten, SW2 off and dim |
| Toggle | An ordinary toggle switch | Follows the switch position. No dimming from the wall |
| Edge | An ordinary toggle switch | Changes state on every flick, regardless of position |
| Detached | The input should control something else | Disconnects the input from the output entirely |
| Activation | A PIR or presence sensor drives the input | Turns on from the sensor rather than toggling |
One button is the setting to aim for, and the reason to specify momentary switches when you get the choice. It is the only mode that gives dimming from the wall.
Power-on state – on, off, or restore the last state after a power cut. Decide it rather than leaving the default.
1. Calibrate
Calibration measures the load and sets the dimmer up for it. It starts by itself the first time the dimmer is switched on, and it can also be started by hand. It takes up to two minutes – do not touch the switch while it runs, or it stops.
Run it again whenever the load changes, for example when lamps are replaced.
2. Set the minimum brightness
Dim down slowly until the light flickers or goes out, then go a few percent back up. Set that level as the minimum in Min/max brightness. The dimmer now uses only the range where the light looks good, so the bottom of the slider is no longer dead.
3. Button fade rate
How quickly the level moves while the switch is held – from 1 (slowest) to 5 (fastest). Default is 3.
4. Transition duration
How long the light takes to fade from off to full brightness when it is switched on or off. A second or two feels calm; zero feels like an ordinary switch.
Also worth a look
Min brightness on toggle – stops the light coming back at an invisible level after it was dimmed almost to nothing.
Loads YouTube when you press play. Watch on YouTube
By ShellyGuide on YouTube
Tips & best practices
- Specify momentary switches wherever you get the choice. A toggle switch permanently costs the customer dimming from the wall, and changing it later means opening the wall again.
- Check the minimum load. A Shelly Dimmer Gen4 without neutral needs at least 20 W; below that, fit a bypass.
- Do not mix drivers on one dimmer. Two different LED types on the same channel will never both dim well – calibration can only optimise for one.
- A wireless switch is a battery in a wall. Note the fitting date and tell the customer what to expect, or it becomes a service call in five years.
- Test at the bottom of the range. Most dimming complaints are about the last 10 %, not the first 90 – and that is where calibration and the minimum brightness show up.
Video tutorial
PIR control with a constant-on override
Motion control with a manual override — the arrangement that keeps a PIR-controlled light on when someone needs it to stay on. Common in meeting rooms and outdoor lighting.
Loads YouTube when you press play. Watch on YouTube
By ShellyGuide on YouTube
This video is in Danish. Auto-translated subtitles are available in the YouTube player settings.