1. Home
  2. Installations
  3. Dimming with BLU Wall Switch

Installations

Dimming with BLU Wall Switch

Pair a battery wall switch straight to a dimmer over Bluetooth — no gateway.

Updated August 2026

What this covers

A Shelly BLU Wall Switch paired straight to a relay or dimmer over Bluetooth. The link is entirely local: no Wi-Fi, no internet, no cloud account, and no gateway.

That matters for two reasons. Response is instant and dimming is smooth, because nothing travels over a network. And the lights keep working when the internet does not — which is the argument that closes the sale on a retrofit where the customer has been burned by a cloud product before.

Both devices must be within Bluetooth range, roughly 10 metres indoors through normal walls.

Requirements

  • A Shelly relay or dimmer — Gen3, Gen4 or Pro — on current firmware
  • A Shelly BLU Wall Switch 4 ZB, or a BLU RC Button 4 or BLU Button Tough 1
  • Both within about 10 metres. Thick walls and large metal surfaces shorten that considerably
  • For method A only: a 230 V momentary spring switch already wired to the SW input

Which switch to order

For Danish installations, the BLU Wall Switch 4 ZB DK is designed for LK FUGA and comparable systems. White is EAN 3800238073404, charcoal is 3800238073411.

Shelly BLU Wall Switch 4 ZB DK
The Danish variant, sized for LK FUGA frames.

Elsewhere there are two mounting routes:

Stand-alone — mounts directly to the wall with the supplied adhesive tape. No frame, no adapter. EAN 3800238073053.

Standard with adapter — sits inside an existing frame. Order the switch, EAN 3800238072551, plus the adapter for the range on the wall:

Switch range Adapter EAN
Gira / Merten / Exxact / Elko 3800235266922
Legrand 3800235266953
Busch-Jaeger / Jussi 3800235266946
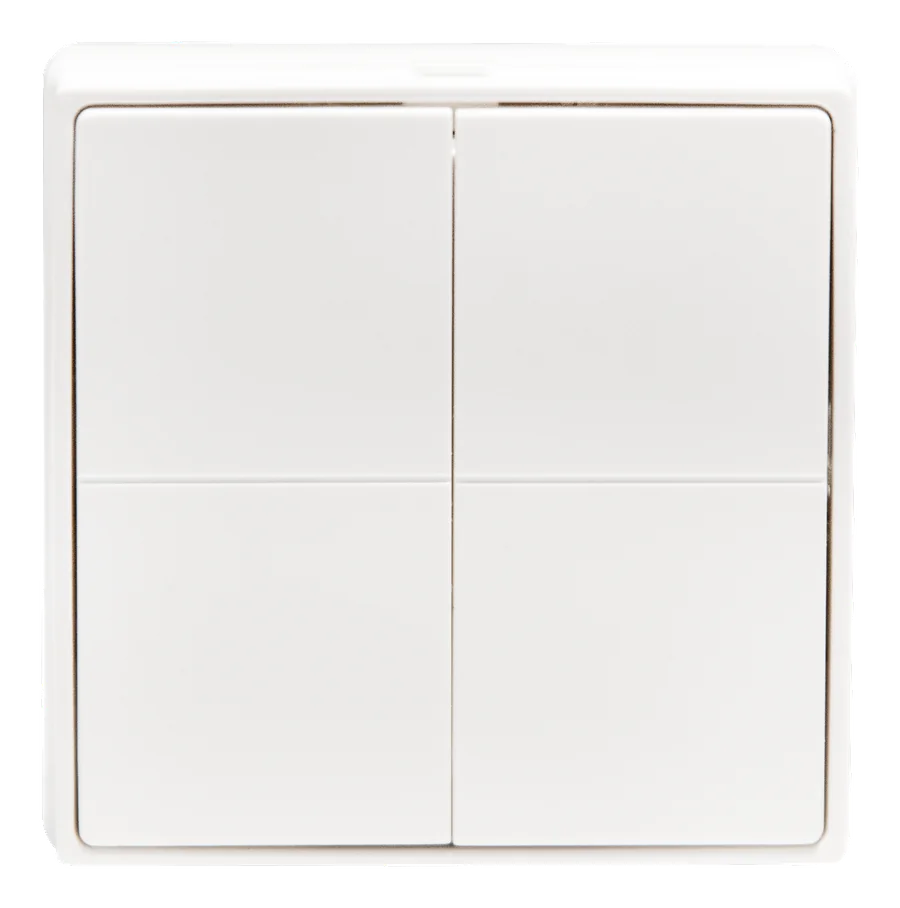
Shelly BLU Wall Switch 4 with its mounting parts
Check the frame on the wall before ordering — the adapter is not universal.

Pairing

Four steps. Only the first differs by installation; steps 2 to 4 are identical either way.

1
Relay

Put the relay or dimmer into pairing mode

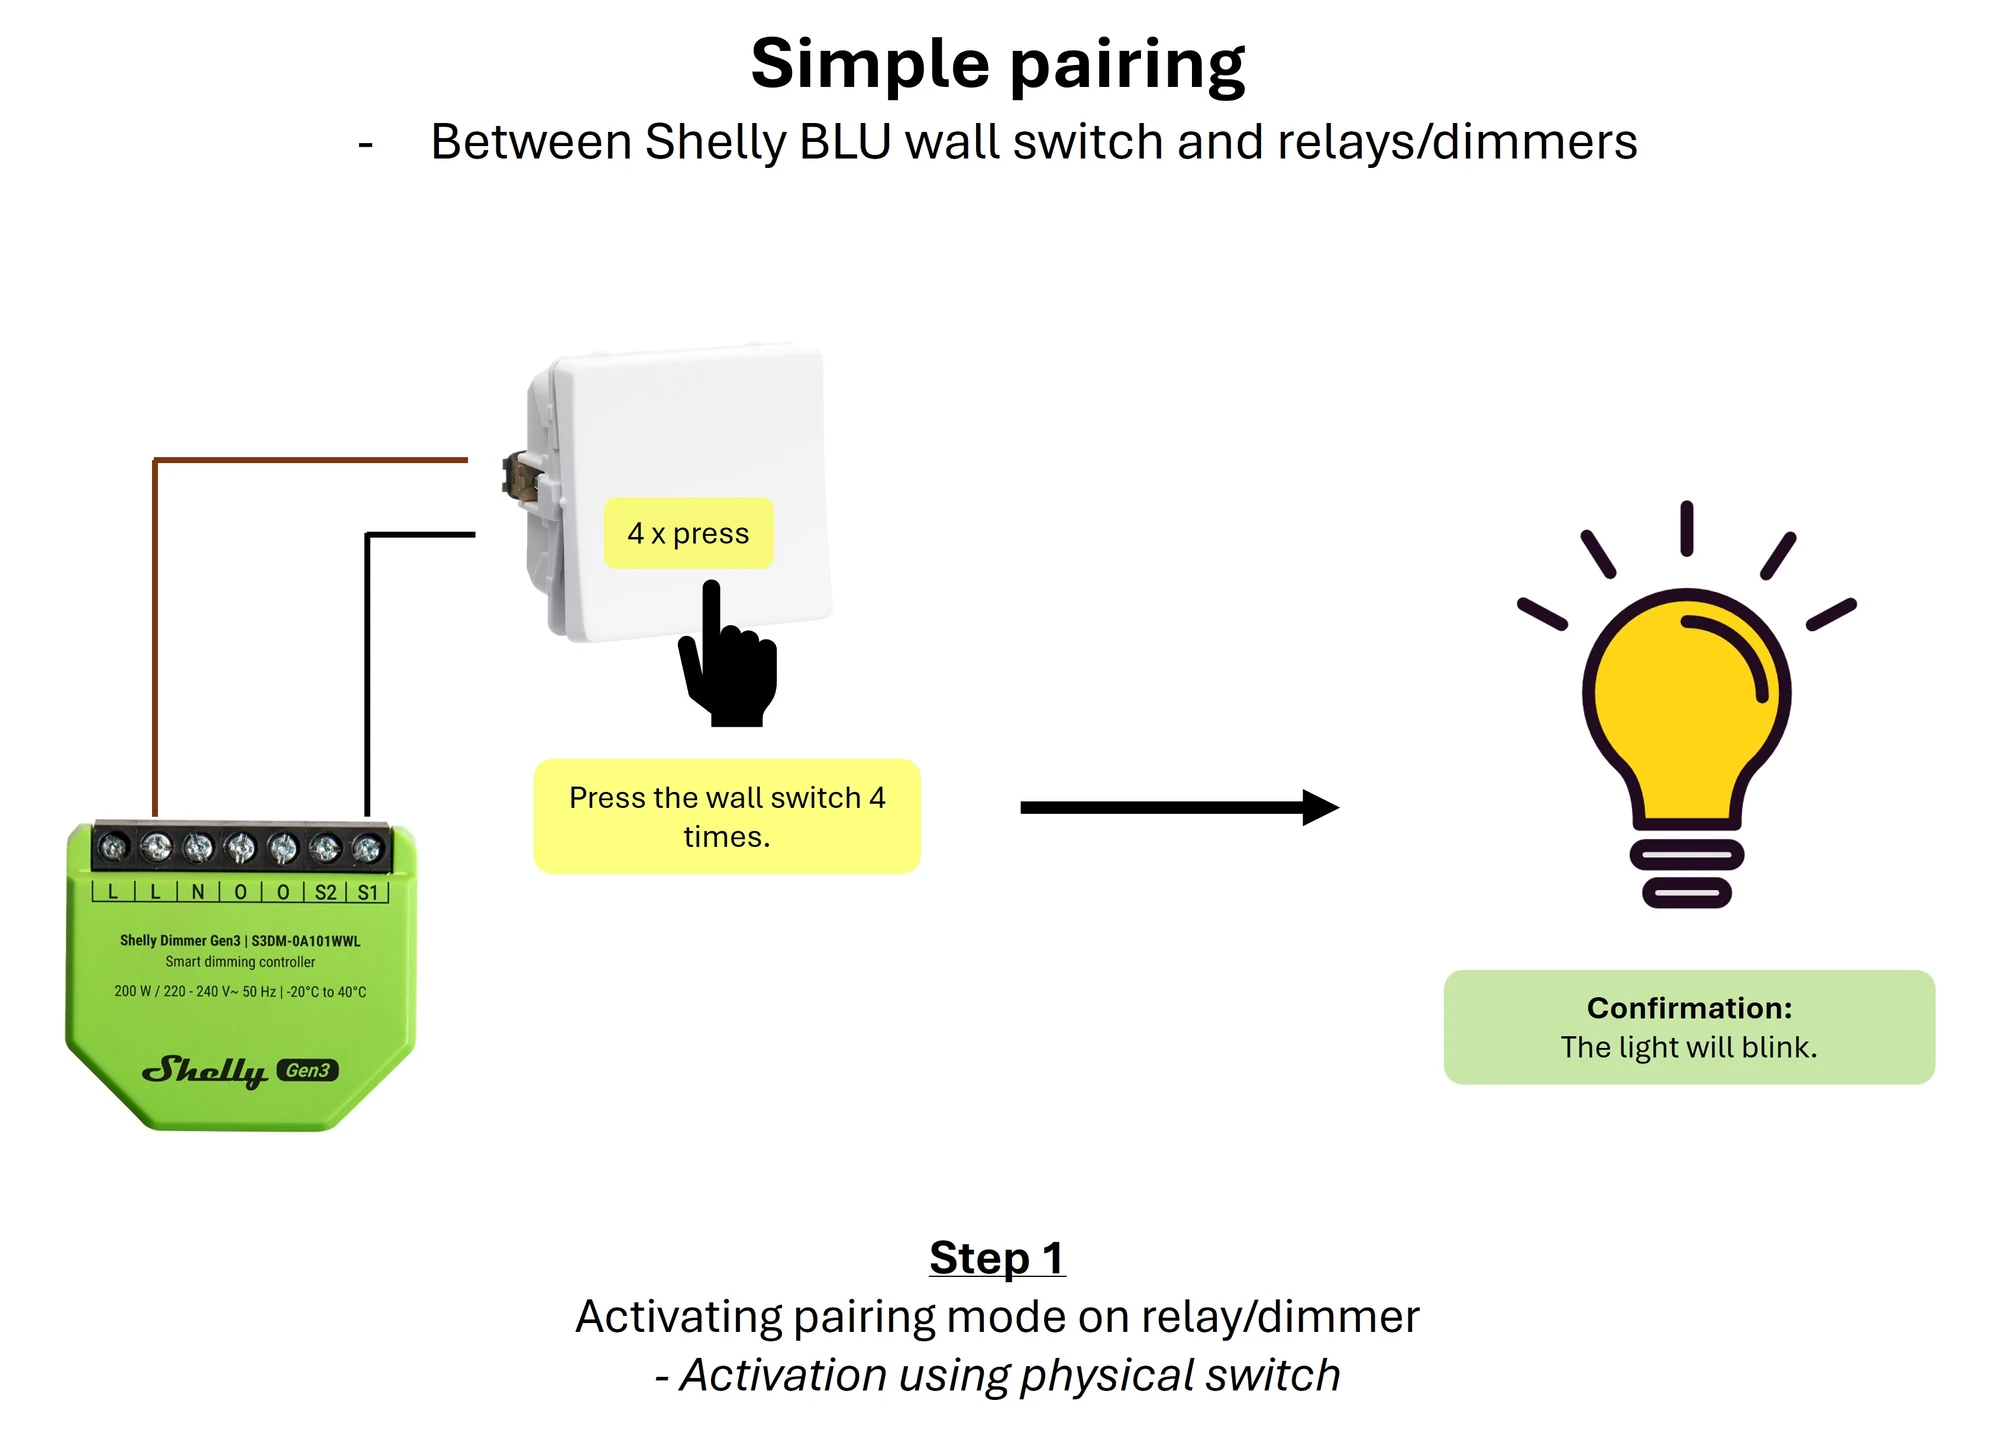
Method A — from the physical switch

Use this when a 230 V momentary spring switch is already wired to the SW input.

Press it four times quickly. The light blinks once to confirm.

Pressing the connected physical switch four times to activate pairing mode
Four quick presses. The light blinks once.

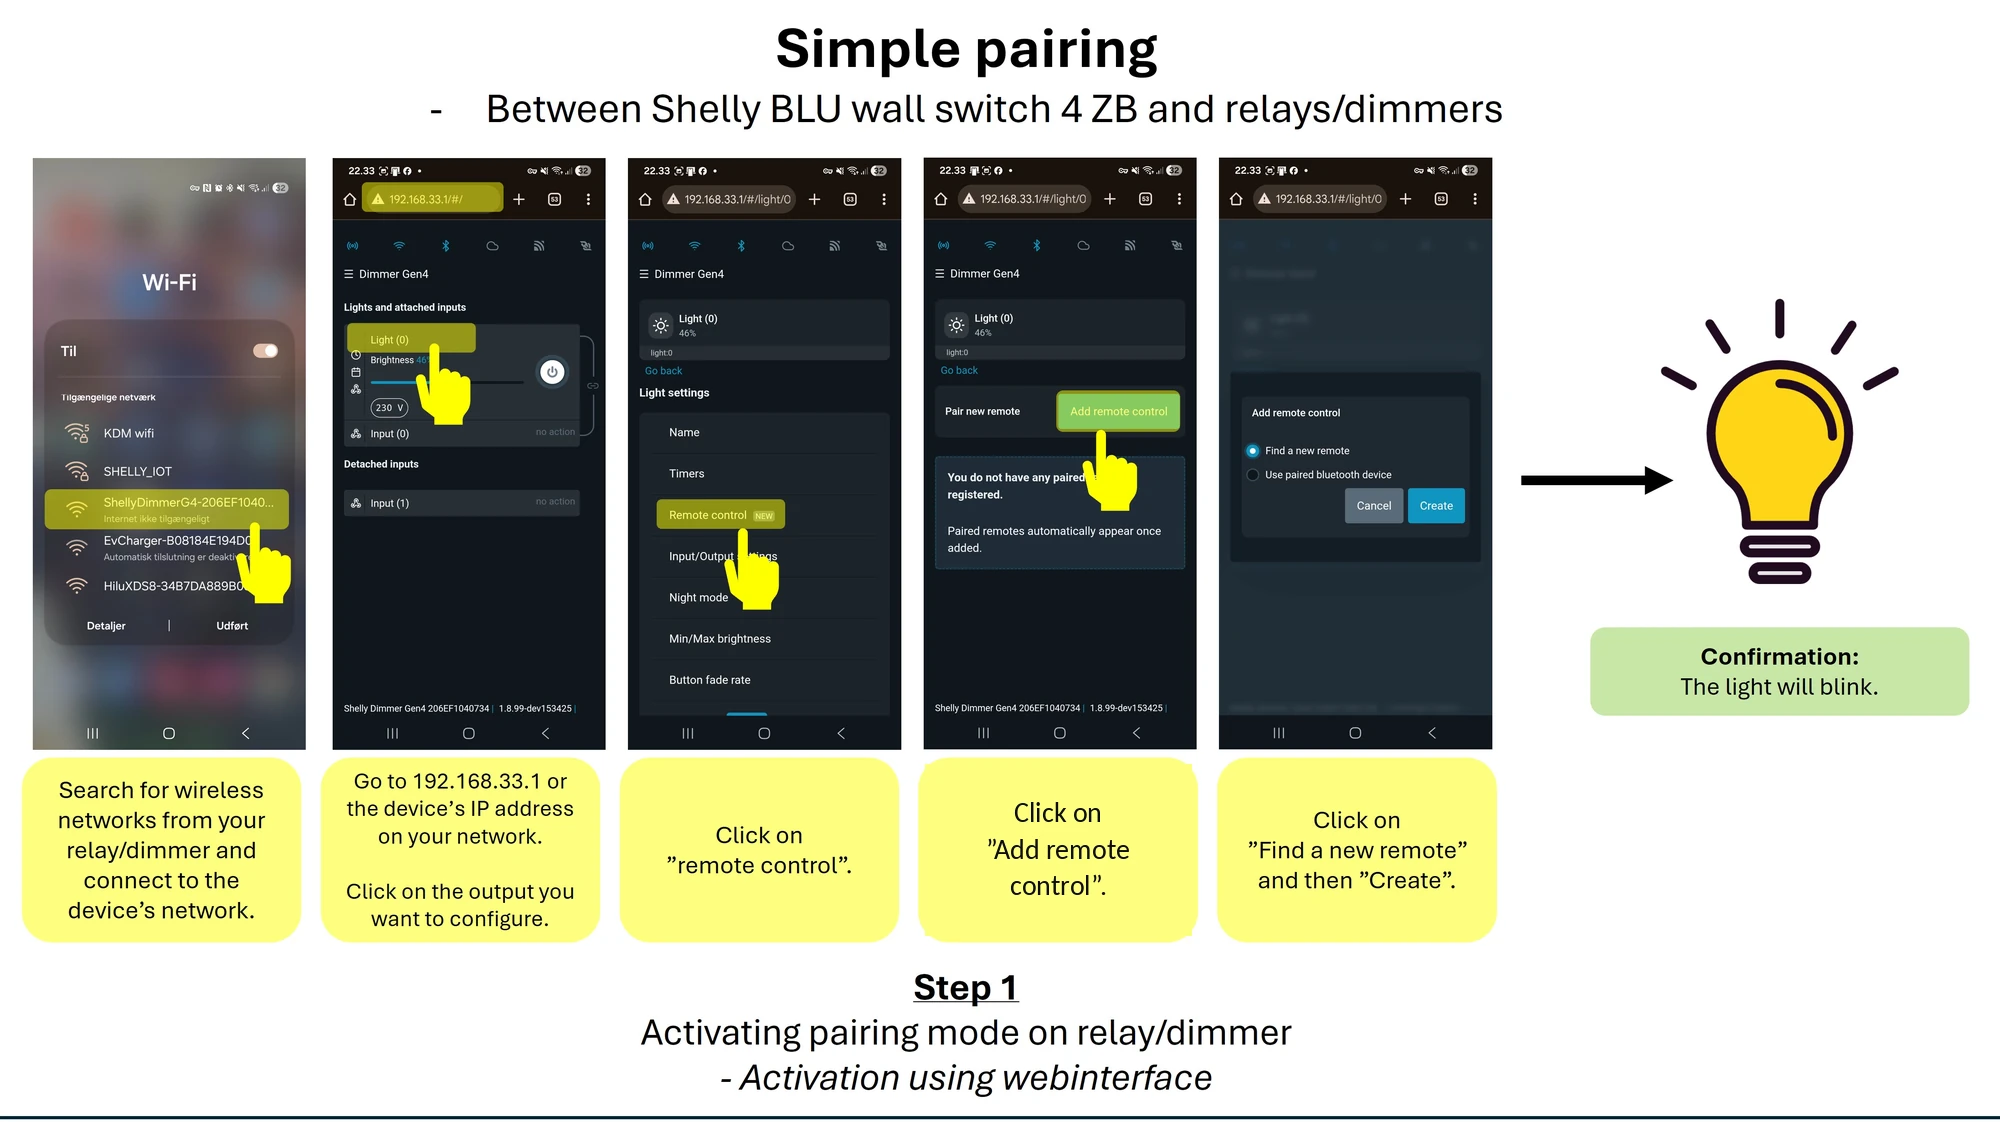
Method B — from the web interface

Use this when there is no physical switch — the common case when the battery switch is the only control.

  1. Connect to the relay’s access point, or open its IP address if it is already on the network
  2. Open the device output, for example Light (0)
  3. Scroll down to Remote controlAdd remote control
  4. Select Find a new remote and tap Create

The light blinks once. See the web interface.

Remote control settings in the device web interface
Remote control → Add remote control → Find a new remote → Create.
2
Switch

Put the wall switch into pairing mode

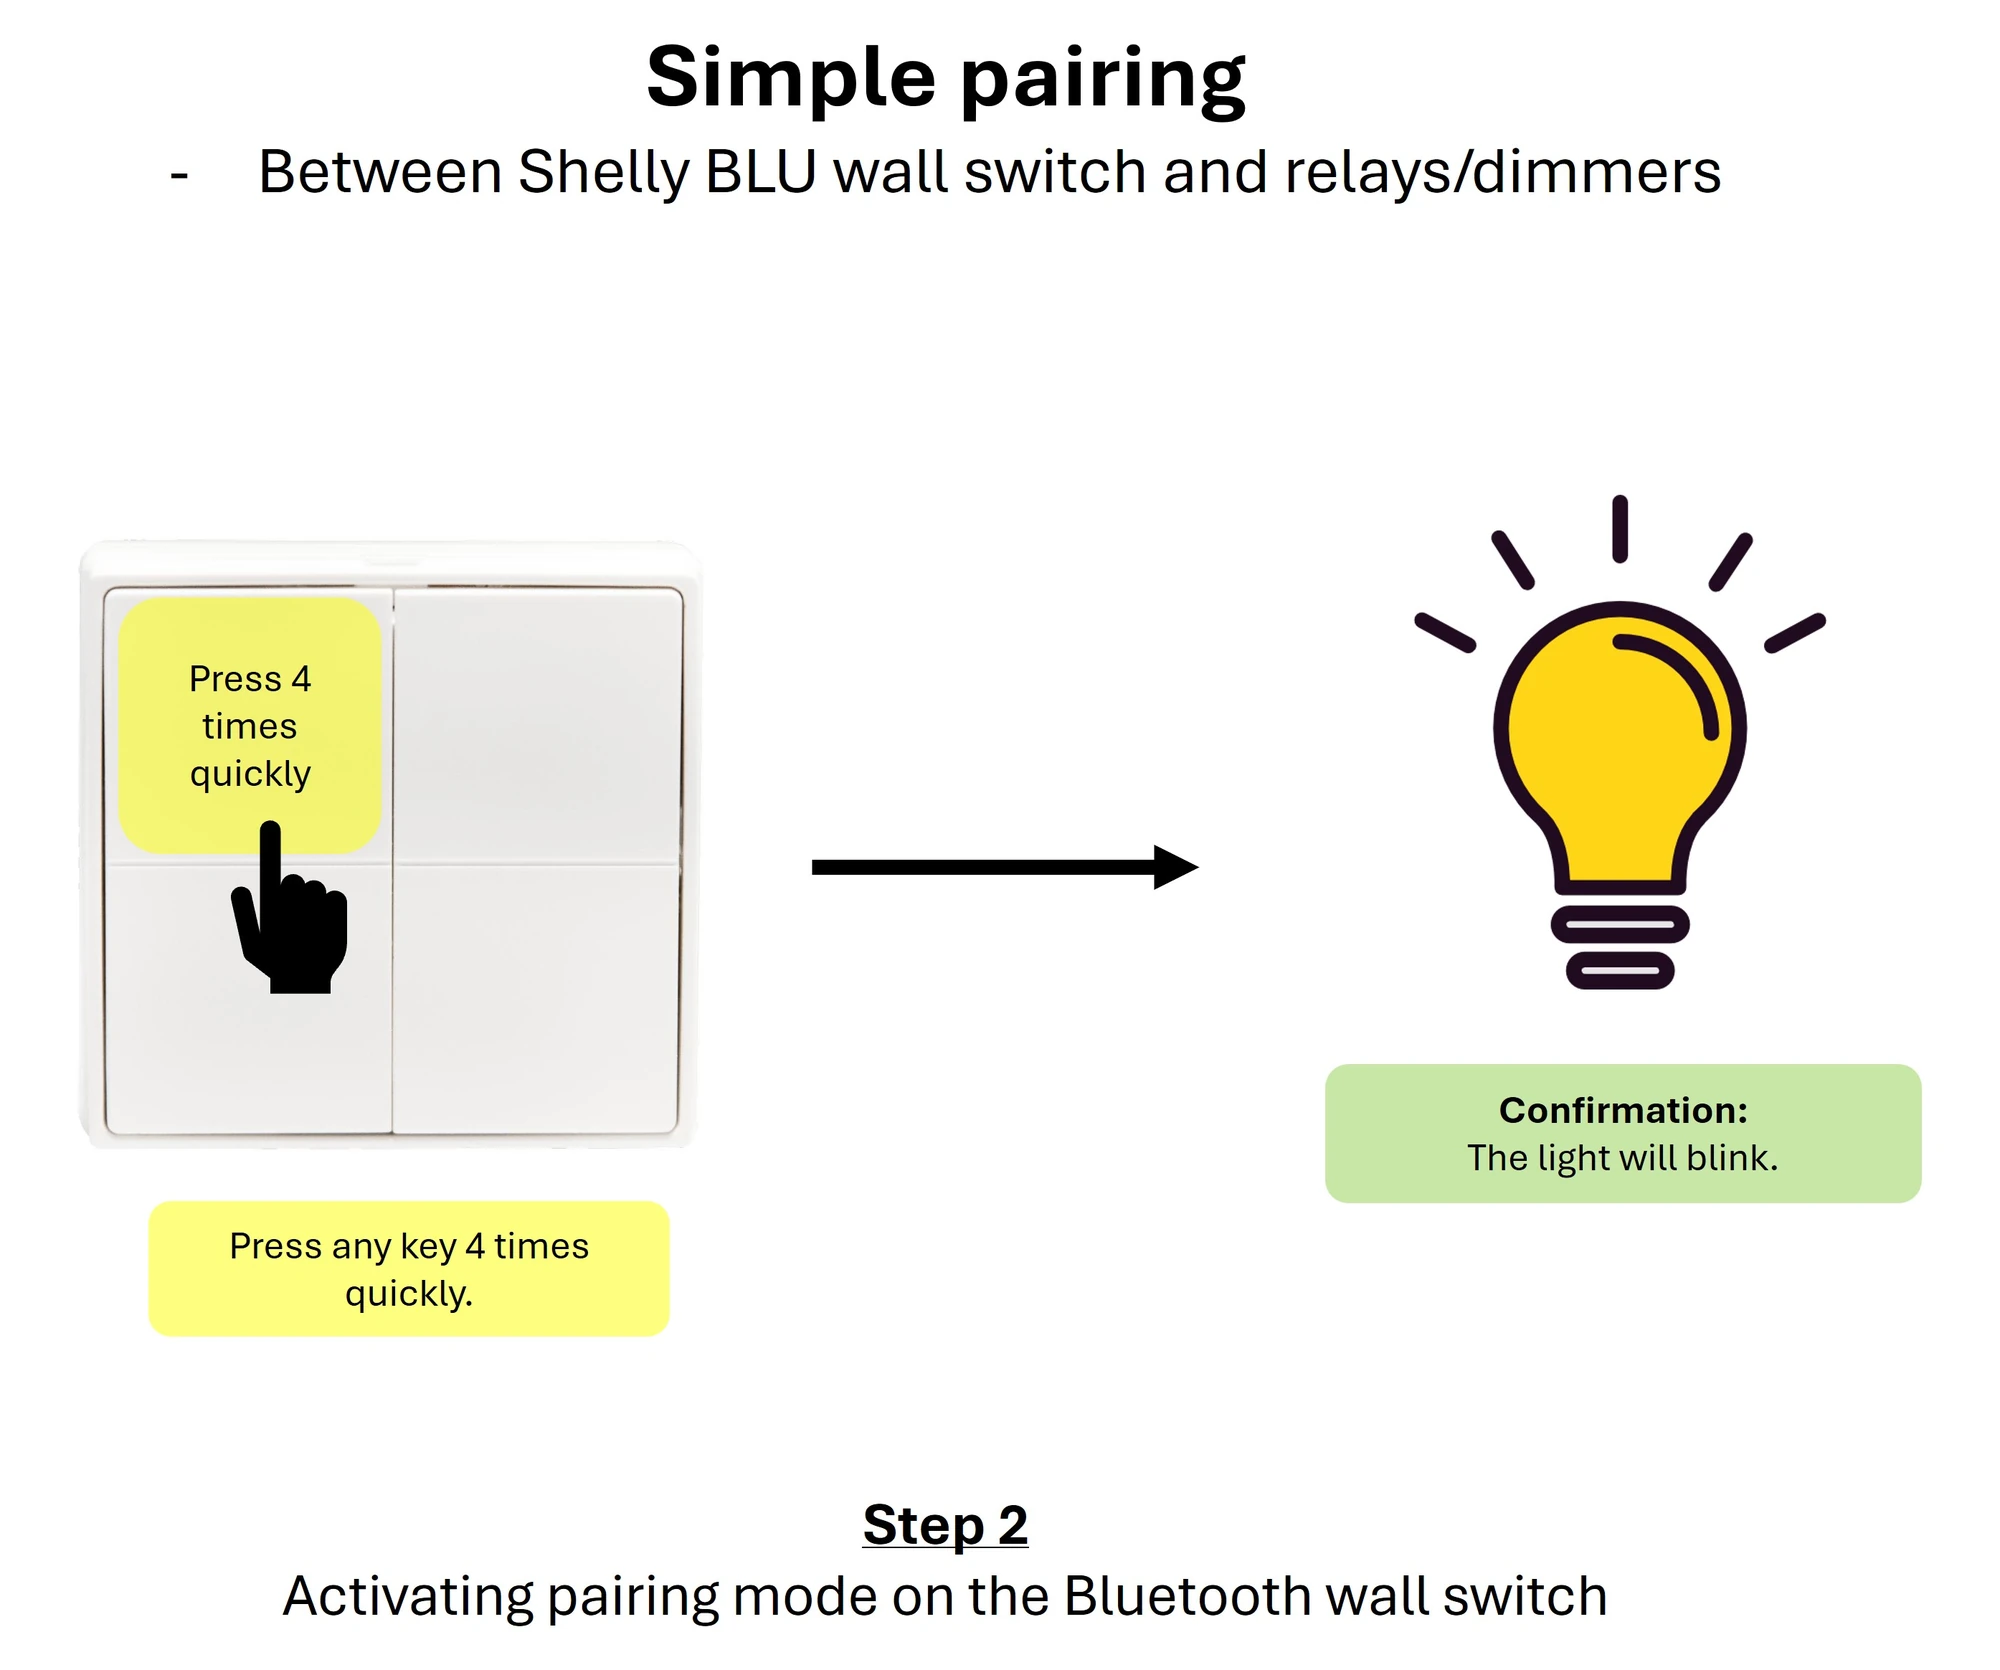
Press any button four times quickly. The light blinks twice.

It can take up to five seconds before the blink appears — do not press again while you wait, or you restart the sequence.

On older Bluetooth-only devices without Zigbee, press and hold any two buttons for ten seconds instead.

Pressing any button on the BLU wall switch four times quickly
Four quick presses on any button. The light blinks twice.
3
Switch

Choose the ON button

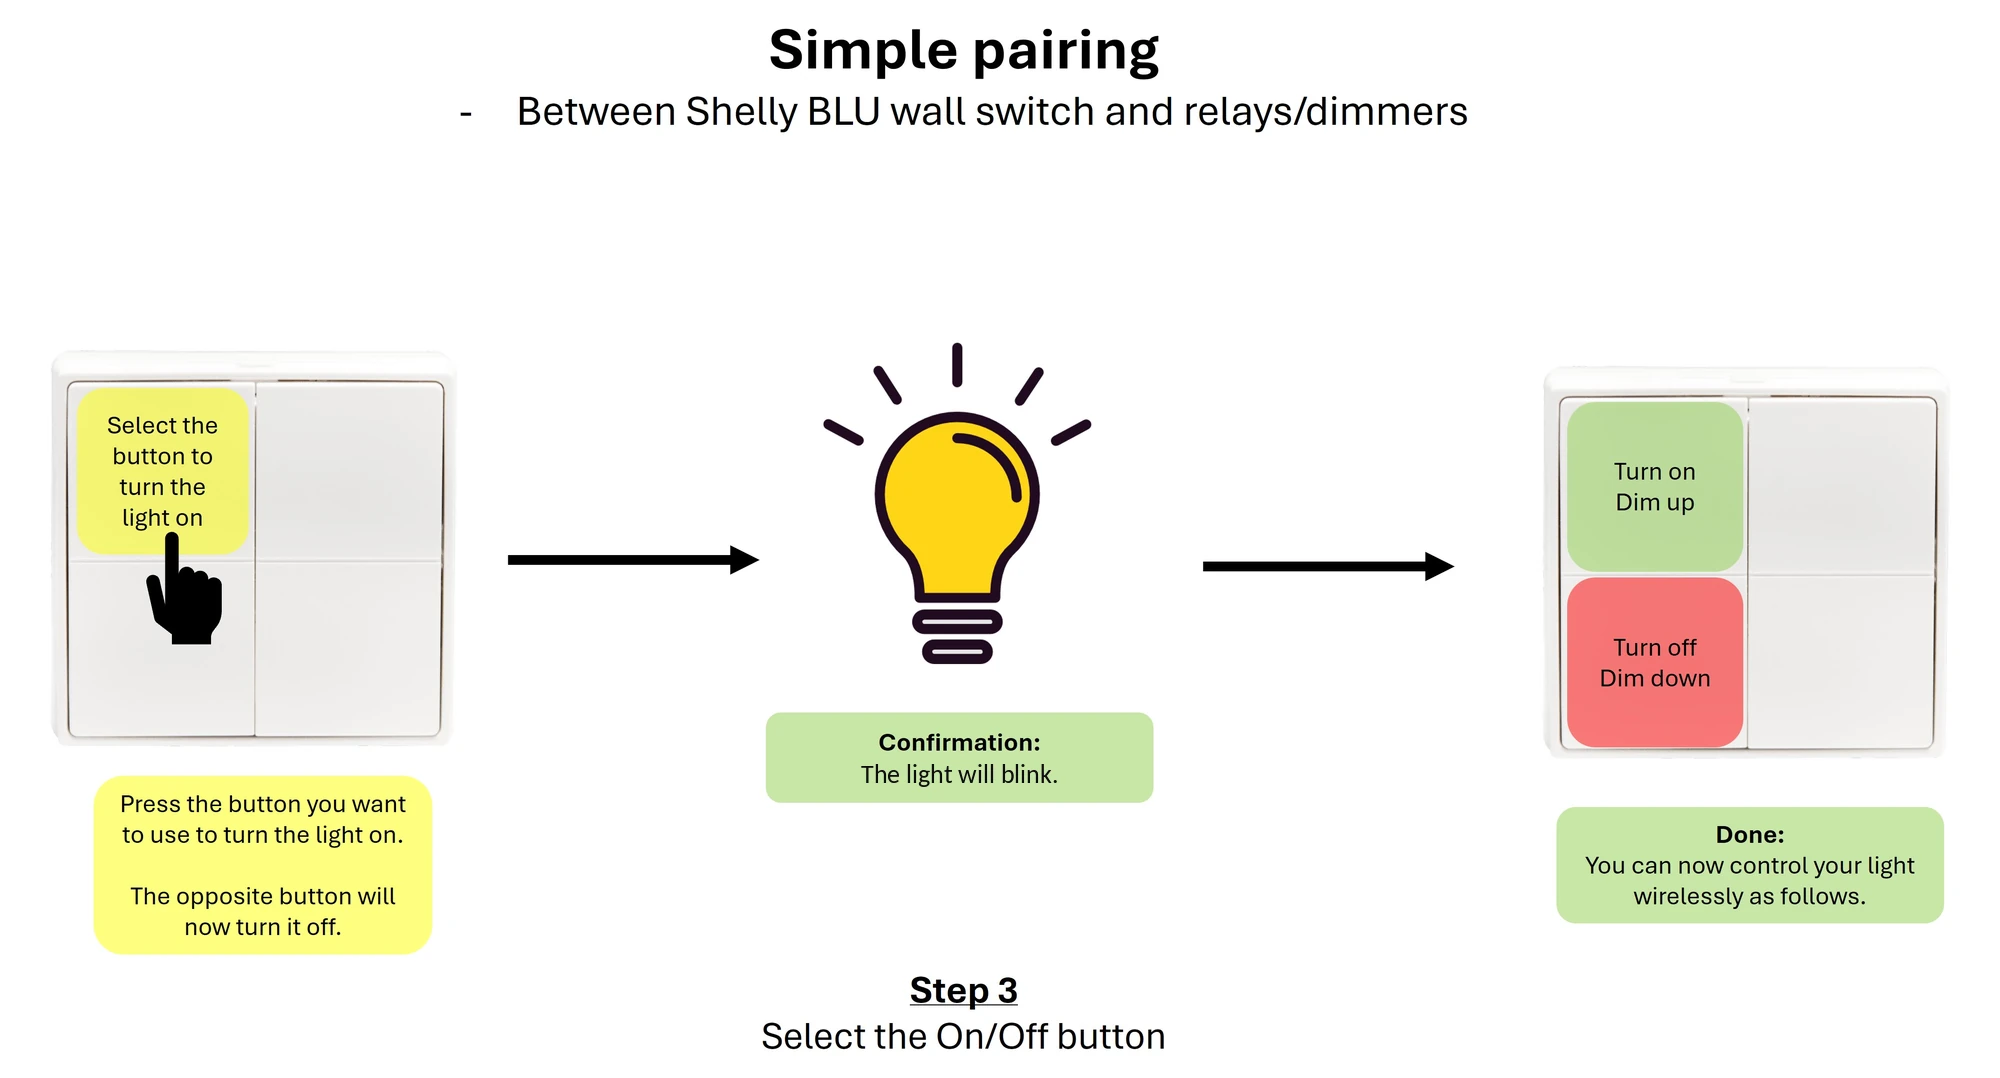
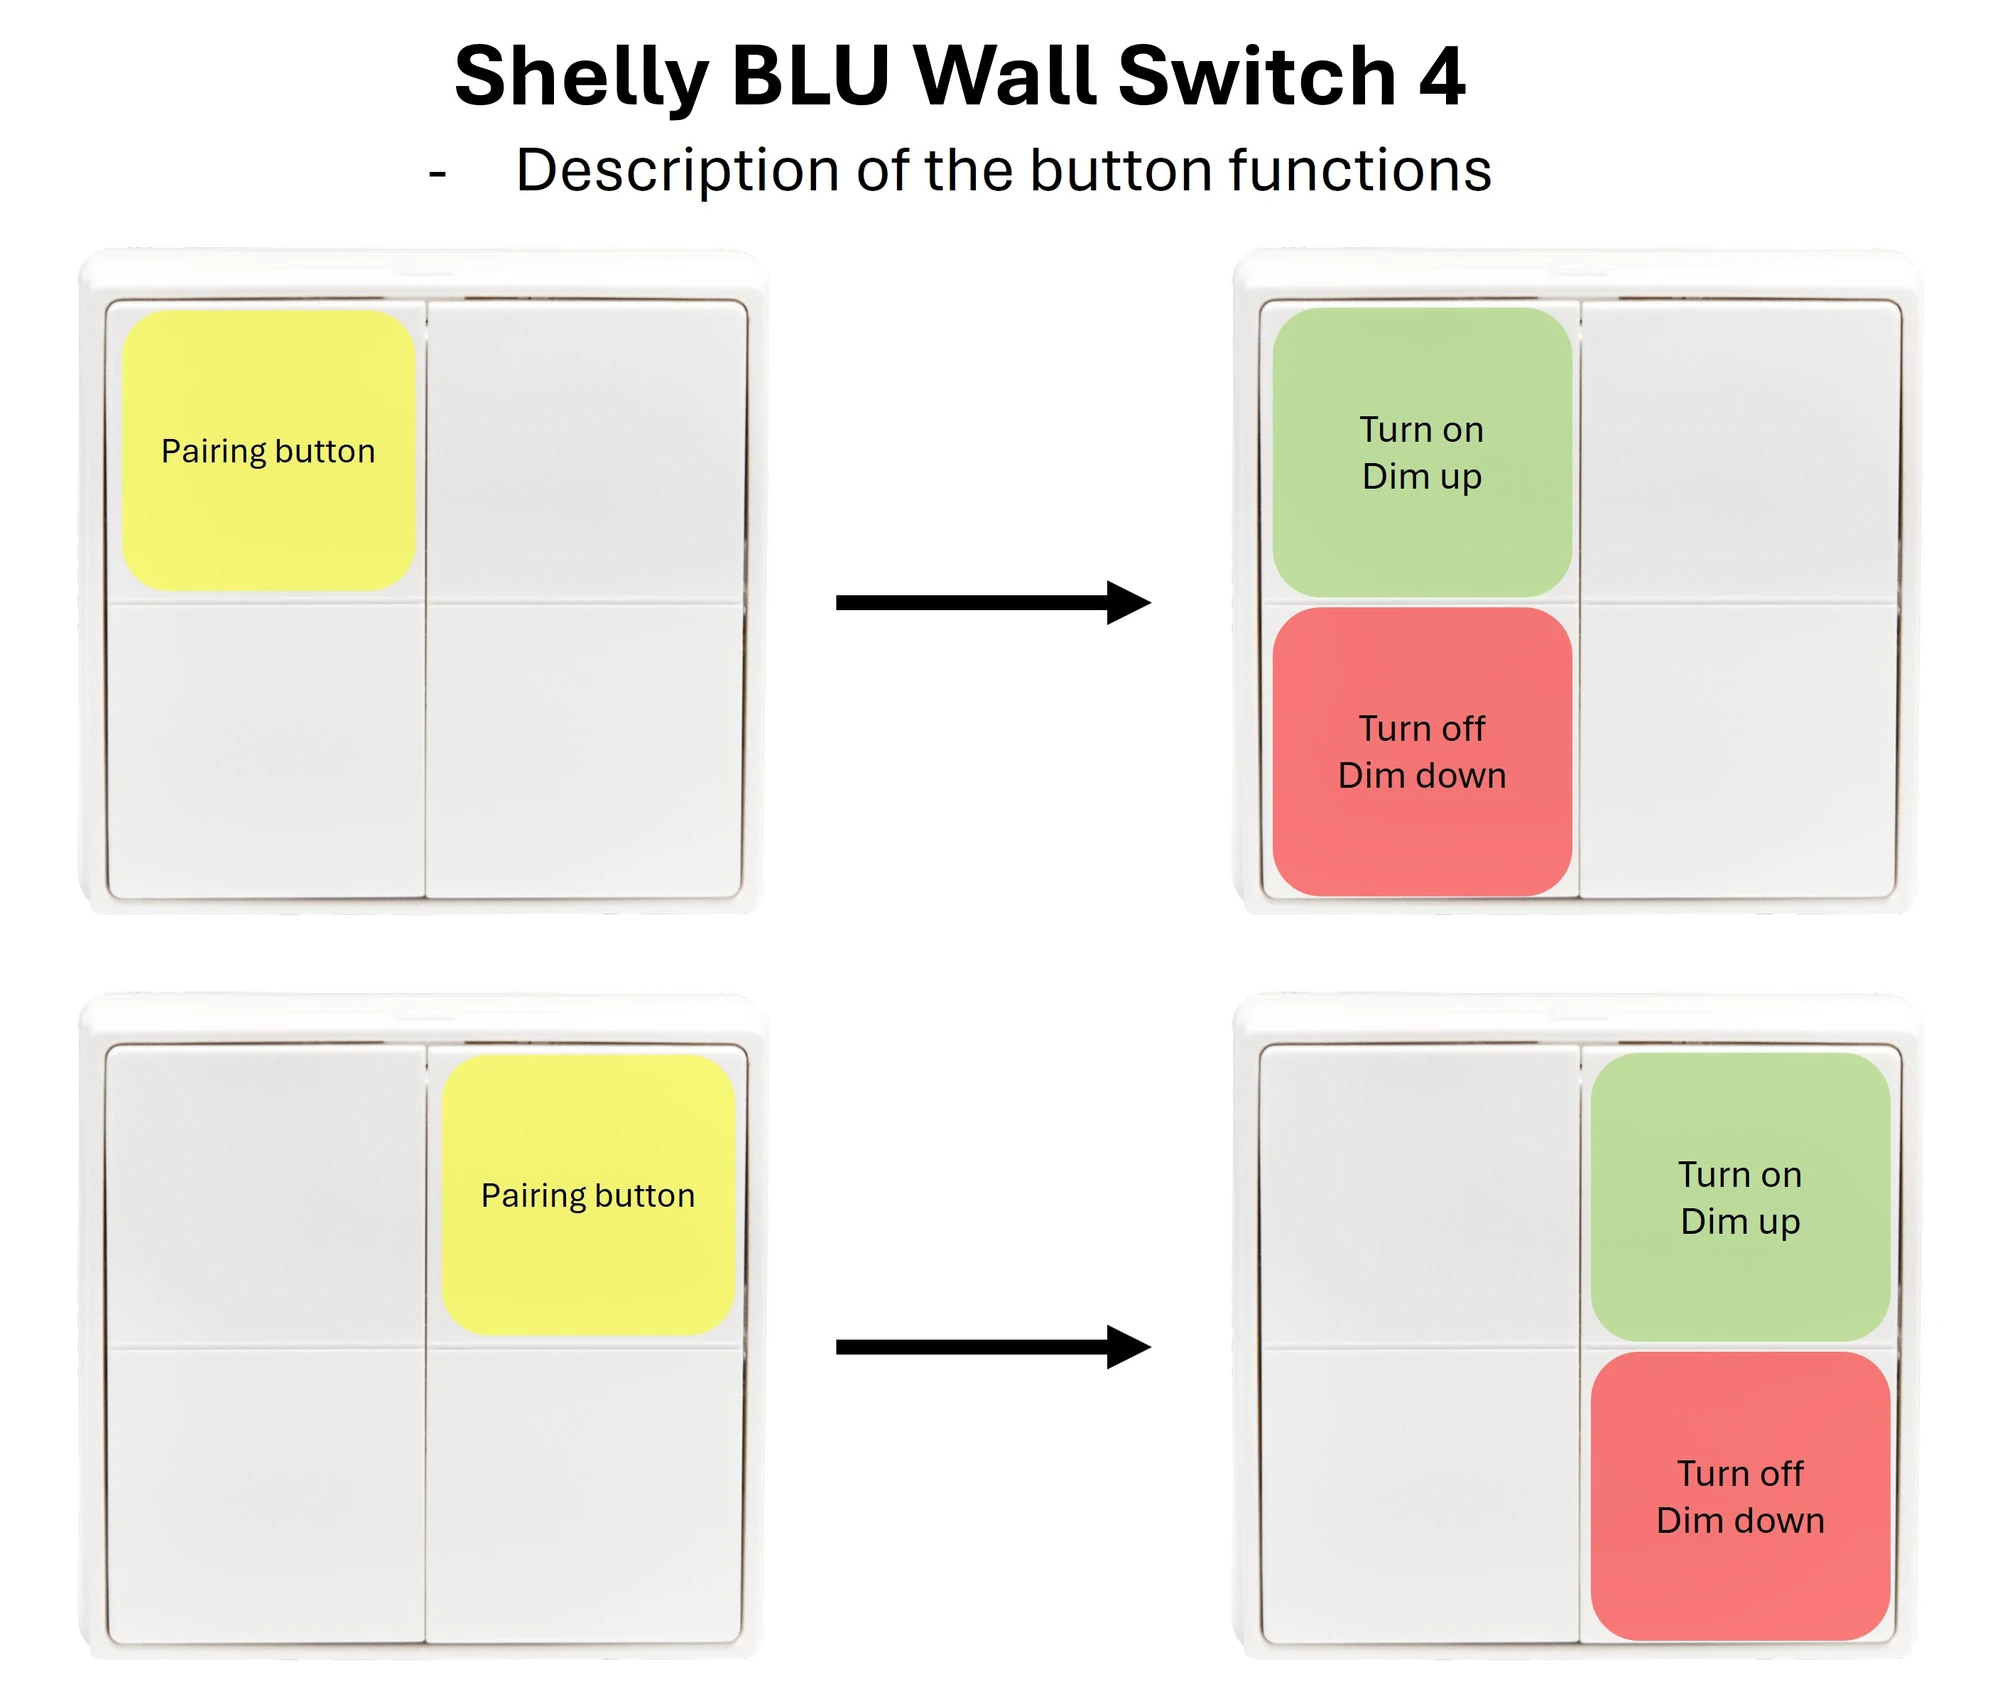
Press the button you want as ON / dim up. The light blinks three times.

The opposite button becomes OFF / dim down automatically — press top left, and bottom left becomes off. You choose one button; the pair is decided for you.

Diagram showing how the chosen ON button pairs with the opposite button as OFF
Press top left for ON and bottom left becomes OFF. Top right pairs with bottom right.
4
Test

Confirm it works

Pairing is done. The switch now controls the relay directly:

  • ON button — press to switch on, hold to dim up
  • OFF button — press to switch off, hold to dim down

On a dimmer, hold until the level is right and release. Test both buttons before you leave the room.

The paired wall switch controlling the light
Press for on and off, hold to dim.

Tips & troubleshooting

  • No blink after four presses on the physical switch? Check that it is a momentary spring switch on the SW input, not an ordinary toggle. A toggle cannot produce the sequence.
  • Pairing fails? Move the two devices closer. Ten metres is optimistic through a thick wall or past a metal cabinet.
  • The BLU buttons still appear in the app. Direct pairing does not remove them — the remaining buttons stay available for cloud automations, so one switch can do both.
  • Changing the ON button? Repeat the pairing. The previous assignment is replaced automatically; there is nothing to unpair first.
  • Pair several switches to one light. A dimmer accepts more than one remote, which is how you get two-way switching in a room with no wire between the two positions.

Video tutorial

A full walkthrough covering the switch, the dimmer settings and both pairing methods.

Loads YouTube when you press play. Watch on YouTube

By ShellyGuide on YouTube

This video is in Danish. Auto-translated subtitles are available in the YouTube player settings.

Two short clips showing each method on its own:

Loads YouTube when you press play. Watch on YouTube

By ShellyGuide on YouTube

Loads YouTube when you press play. Watch on YouTube

By ShellyGuide on YouTube