- Home
- Getting started
- Wi-Fi and router setup
Getting started
Wi-Fi and router setup
Get Shelly devices to stay connected — the 2.4 GHz and router settings that decide it.
Updated: August 2026
Why Shelly is different
A Shelly is an IoT device, not a laptop. It sends and receives very little data, so bandwidth is irrelevant — but it is unusually sensitive to interference, overlapping channels, and routers that keep changing channel or transmit power underneath it.
Almost every Shelly Wi-Fi device uses 2.4 GHz. The exceptions are the Wall Display XL and X2i, which can use 5 GHz.
Recommended settings
Start here. On most installations this is the whole job.
| Setting | Recommended |
|---|---|
| Band | 2.4 GHz |
| Channel width | 20 MHz |
| Channel | 1, 6 or 11 — set manually |
| Transmit power | Low |
| Security | WPA2-PSK (AES) |
| Minimum data rate | 6–12 Mbps |
| Firmware | Always the latest |
Before you change anything: run Ethernet to every access point if you can, avoid mesh and wireless uplinks, and make sure every device is on current firmware. A wireless uplink adds latency and packet loss that no amount of tuning will fix.
Network structure
A dedicated IoT network is the most stable setup. 2.4 GHz only, no band steering, used for Shelly devices, printers, speakers and TVs. Phones and computers stay on the normal network.
Two things follow from that separation: the devices stop competing with clients that pull large amounts of data, and troubleshooting gets much easier, because a problem on the IoT network is a problem with the IoT network.
A combined 2.4 and 5 GHz network under one name is fine for phones and laptops. It is not recommended for Shelly devices — see band steering below.
The settings explained
Channel width — 20 MHz
Wider is faster, but also noisier and more likely to overlap the neighbours.
Shelly devices gain nothing from a wider channel. 20 MHz means less interference, less overlap and more stable communication.
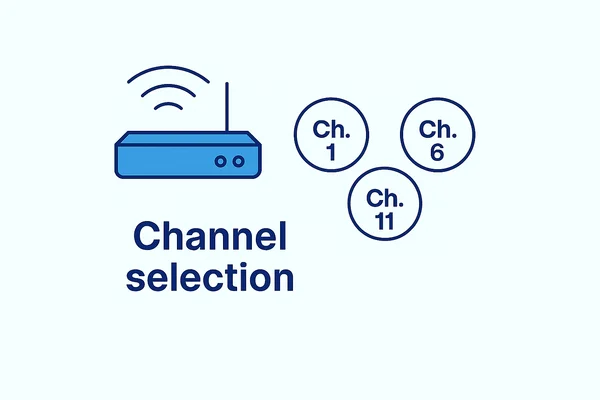
Channel — 1, 6 or 11, set manually
Only these three do not overlap in the 2.4 GHz band. Anything else sits partly on top of a neighbour.
Set it manually. Automatic channel selection means the router may move mid-operation, and every device has to find it again.
Transmit power — low
The instinct is to turn it up. It usually makes things worse: a stronger access point reaches further, overlaps more neighbours, and lets devices cling to a distant point instead of moving to a closer one.
Low power gives cleaner cells and more predictable roaming.
Security — WPA2-PSK (AES)
WPA3 and mixed WPA2/WPA3 modes cause connection failures on several Shelly generations. Use plain WPA2-PSK with AES.
Minimum data rate — 6–12 Mbps
Raising the minimum rate stops distant, weak clients from holding the channel open while they transmit slowly. It also nudges devices to connect to the nearest access point.
Do not set it higher than 12 Mbps: a Shelly at the edge of coverage may then fail to associate at all.
Firmware — always current
Several connection problems are firmware bugs that have already been fixed. From firmware 1.5.9 onwards, static IP addressing is no longer needed for battery devices to connect quickly.

What to switch off
These are on by default in many routers, and each one causes a recognisable failure.
- Band steering. The router publishes 2.4 and 5 GHz under one name and pushes clients to 5 GHz. A Shelly cannot join 5 GHz, so it is offered a network it cannot use. This is the single most common reason a device will not pair.
- WMM and IGMP snooping. Both are designed for streaming traffic and interfere with small, infrequent IoT packets.
- U-APSD. A power-saving feature that causes dropped packets on several Shelly generations.
- Client isolation. Devices can reach the internet but not each other, which breaks device-to-device control, scripts and Home Assistant.
- Captive portals and guest networks. A Shelly cannot accept terms on a login page.
DTIM
Leave DTIM at 1–3. A higher value saves battery on phones but delays delivery of buffered packets, which shows up as sluggish or missed responses from battery-powered Shelly devices.
Tips & best practices
- Check signal strength before you close the wall. Anything weaker than about −70 dBm will drop out sooner or later, and a device behind a metal cabinet door is often 10 dBm worse than the same device in front of it.
- Reserve the IP address for anything used by webhooks, scripts or Home Assistant. Local integrations break when addresses change.
- Check the client limit. Some ISP routers cap Wi-Fi clients at ten, and often the limit cannot be changed. A house with twenty Shelly devices needs a different router.
- One access point per channel. With several access points, use 1, 6 and 11 and never repeat a channel within range of itself.
- Cable the access points. A wireless uplink halves throughput per hop and adds the latency that makes device-to-device control feel broken.