1
Setup
Open All Groups and add a group
Go to Home, open the All Groups tab and tap the + button.
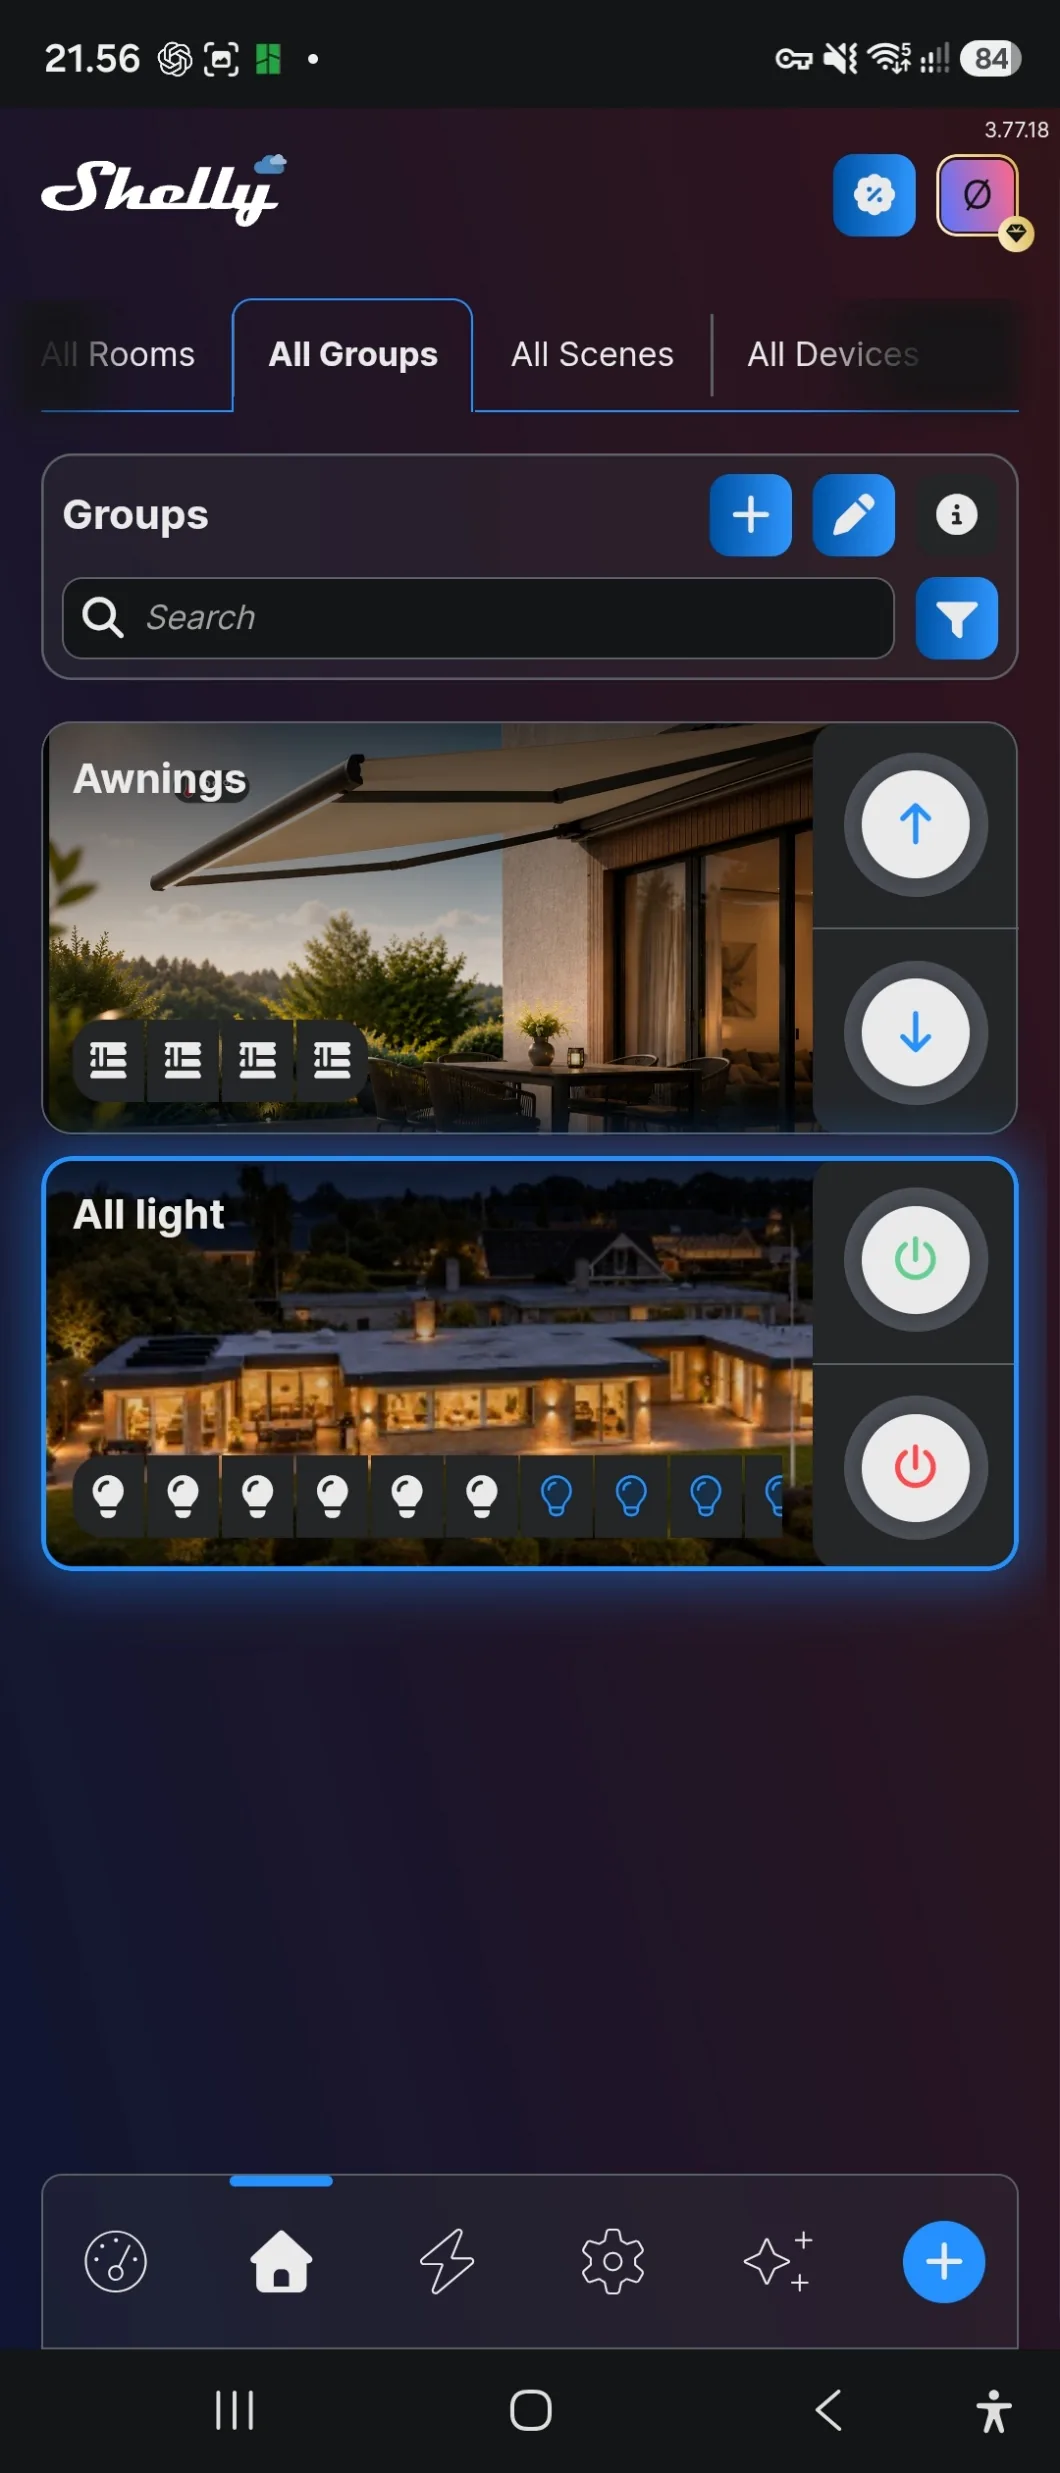
A group controls several devices at once from a single button: all the lights in the house or on one floor, the temperature on a whole floor, or a row of awnings moving together.
A room is where a device is; a group is what devices do together. A device belongs to exactly one room, but it can belong to several groups — which is why a single button for all the outdoor lighting has to be a group. Those lights are in four different rooms, and no amount of reorganising rooms will produce that button.
Groups appear in the room they belong to, can be added to the dashboard for quick access, and can be used in scenes.
Go to Home, open the All Groups tab and tap the + button.
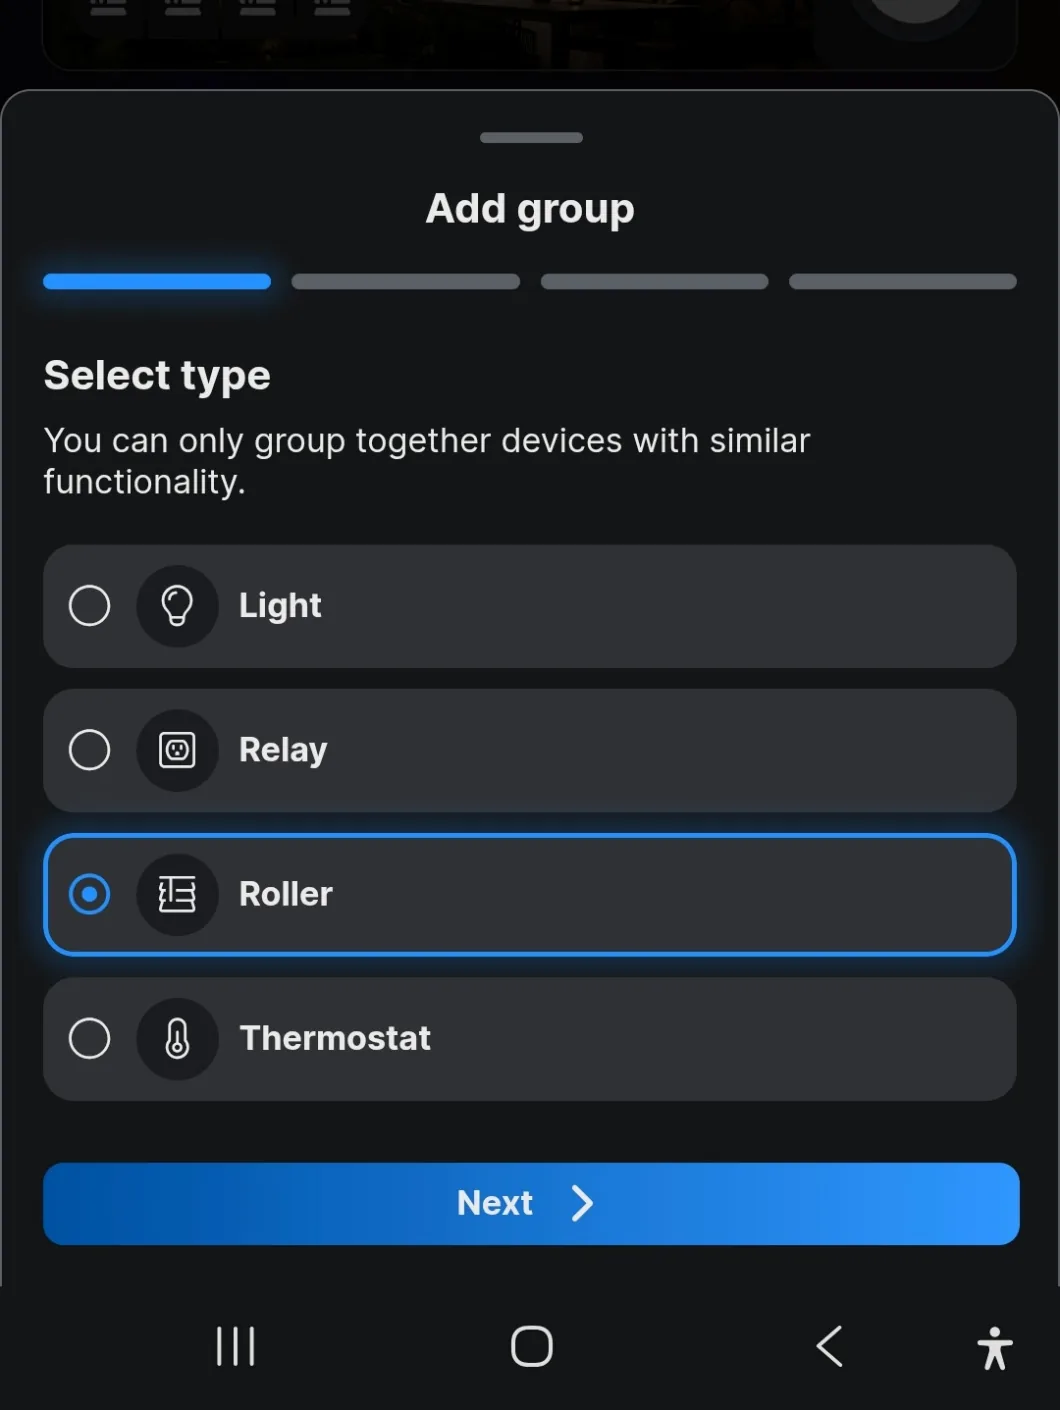
Light, Relay, Roller or Thermostat. Every device in the group has to be the same type — a relay and a dimmer cannot share a group, because no single control means the same thing to both.
The type also decides what the group’s control looks like: a roller group gets up and down buttons, a light group gets on, off and a brightness slider.
Where devices of different types have to act together, that is a scene, not a group.
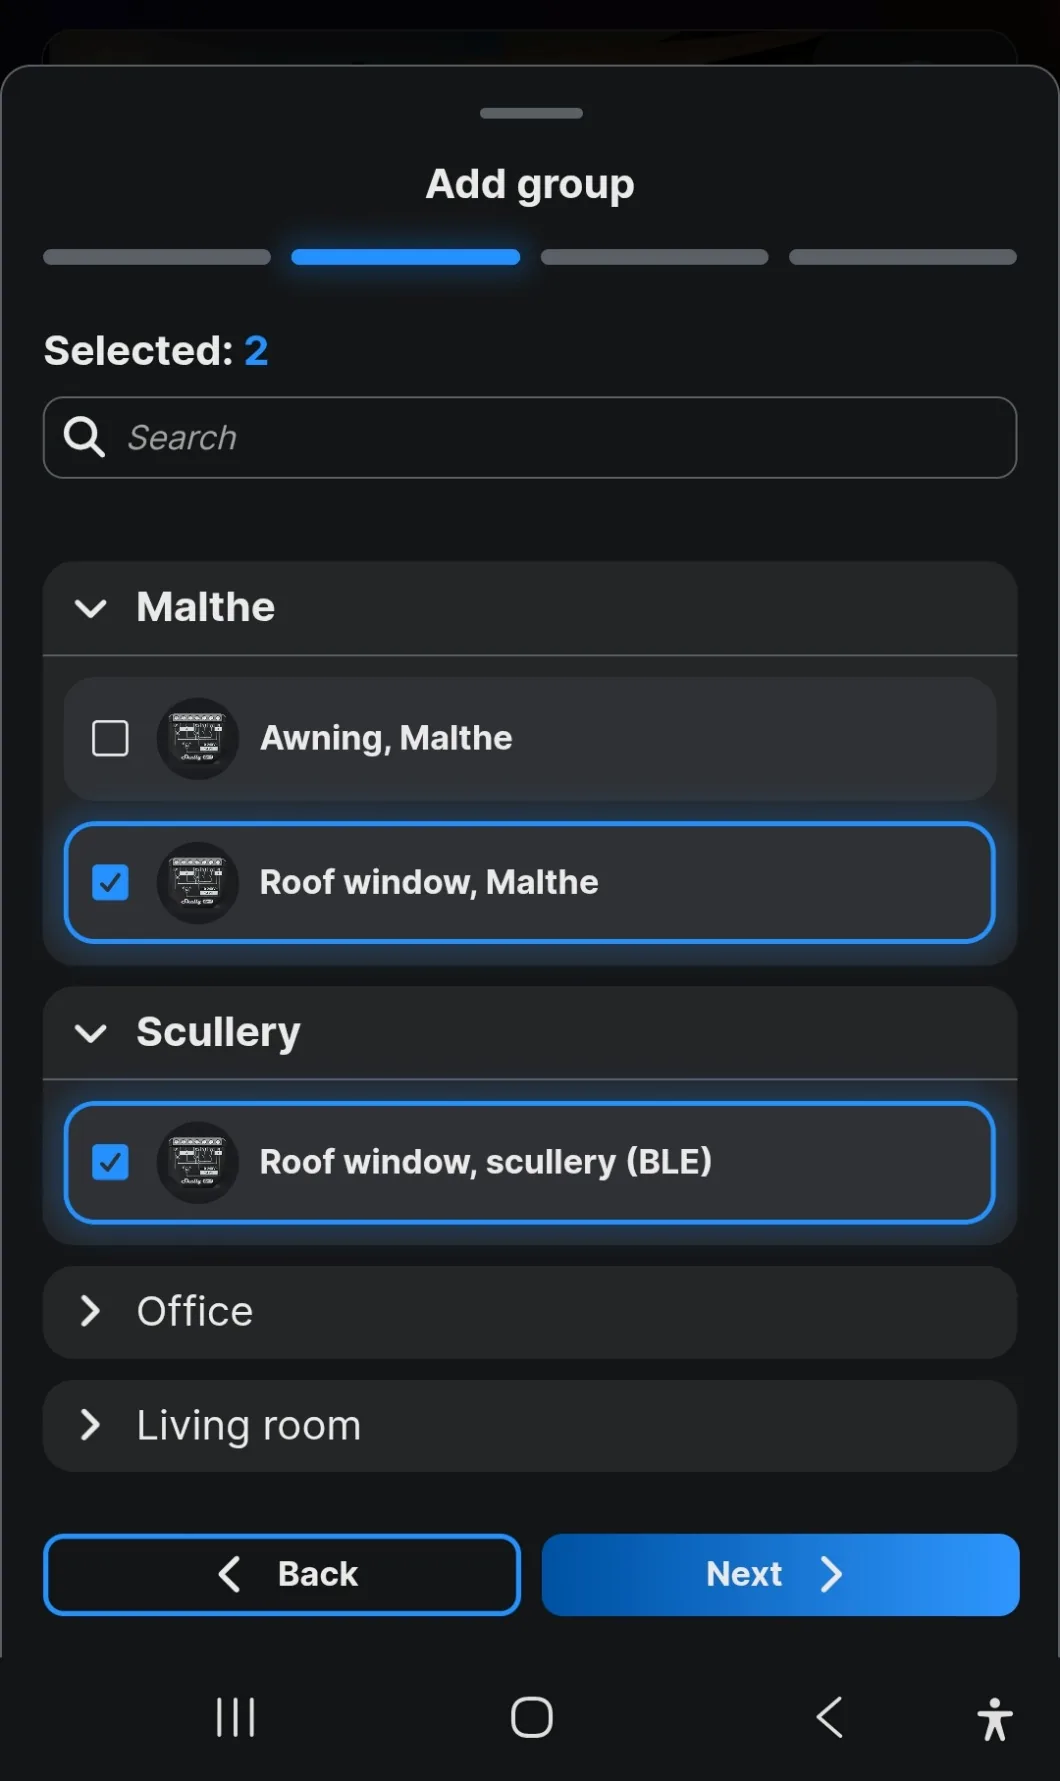
Tick the devices to include. They are listed by room, and only devices of the type you chose appear.
Take them from as many rooms as you like — crossing rooms is the whole point of a group.
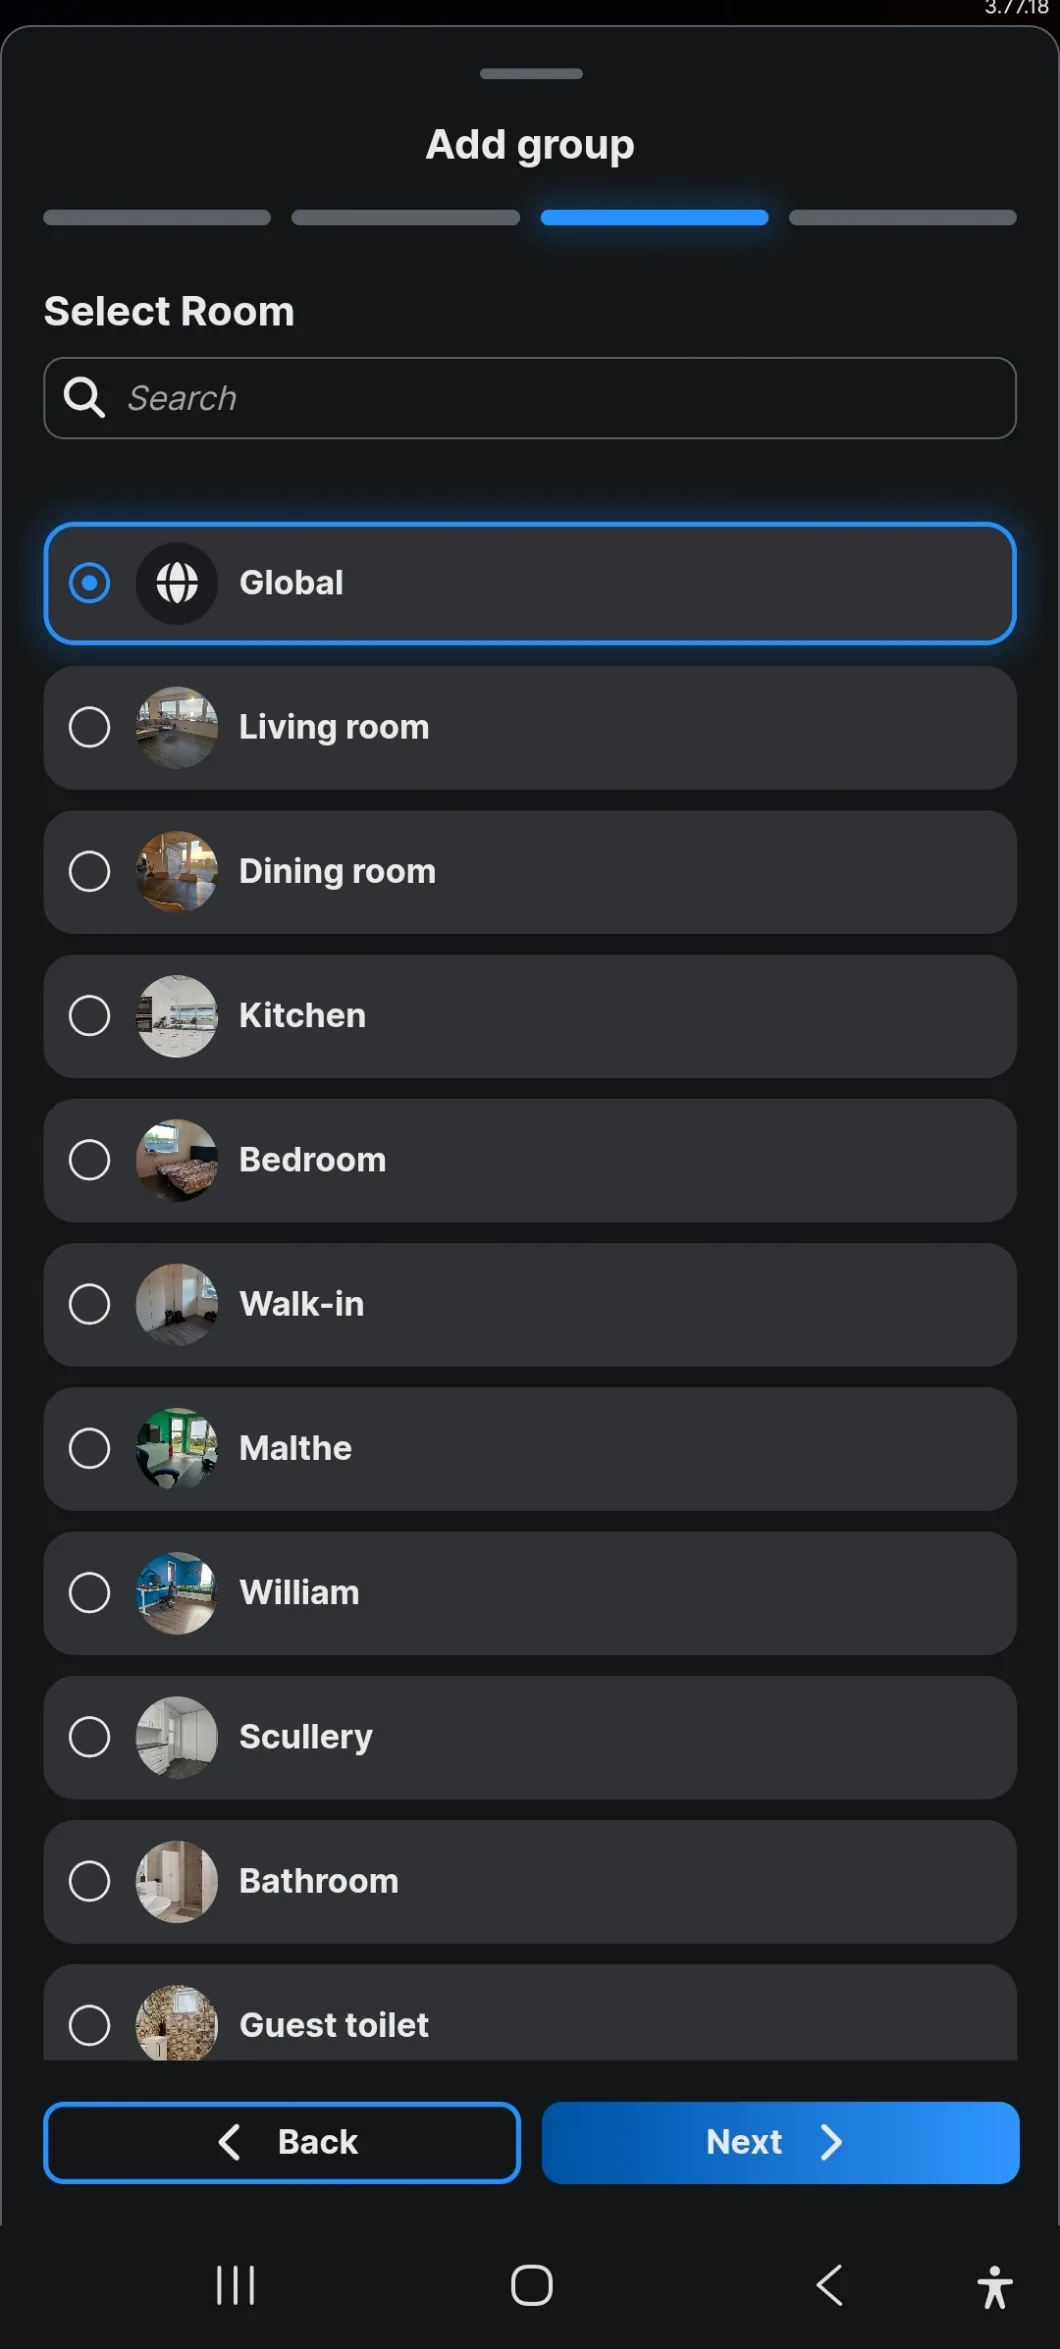
Where the group is filed, so it can be found again later. Use Global for a group that spans rooms — which most useful groups do.
Name the group after what it controls, not where it is — All roof windows rather than Upstairs. The room already says where.
The name matters more than it looks: it is what the customer says to a voice assistant, so it has to be a phrase they would actually use. Then pick a picture or a colour and save.
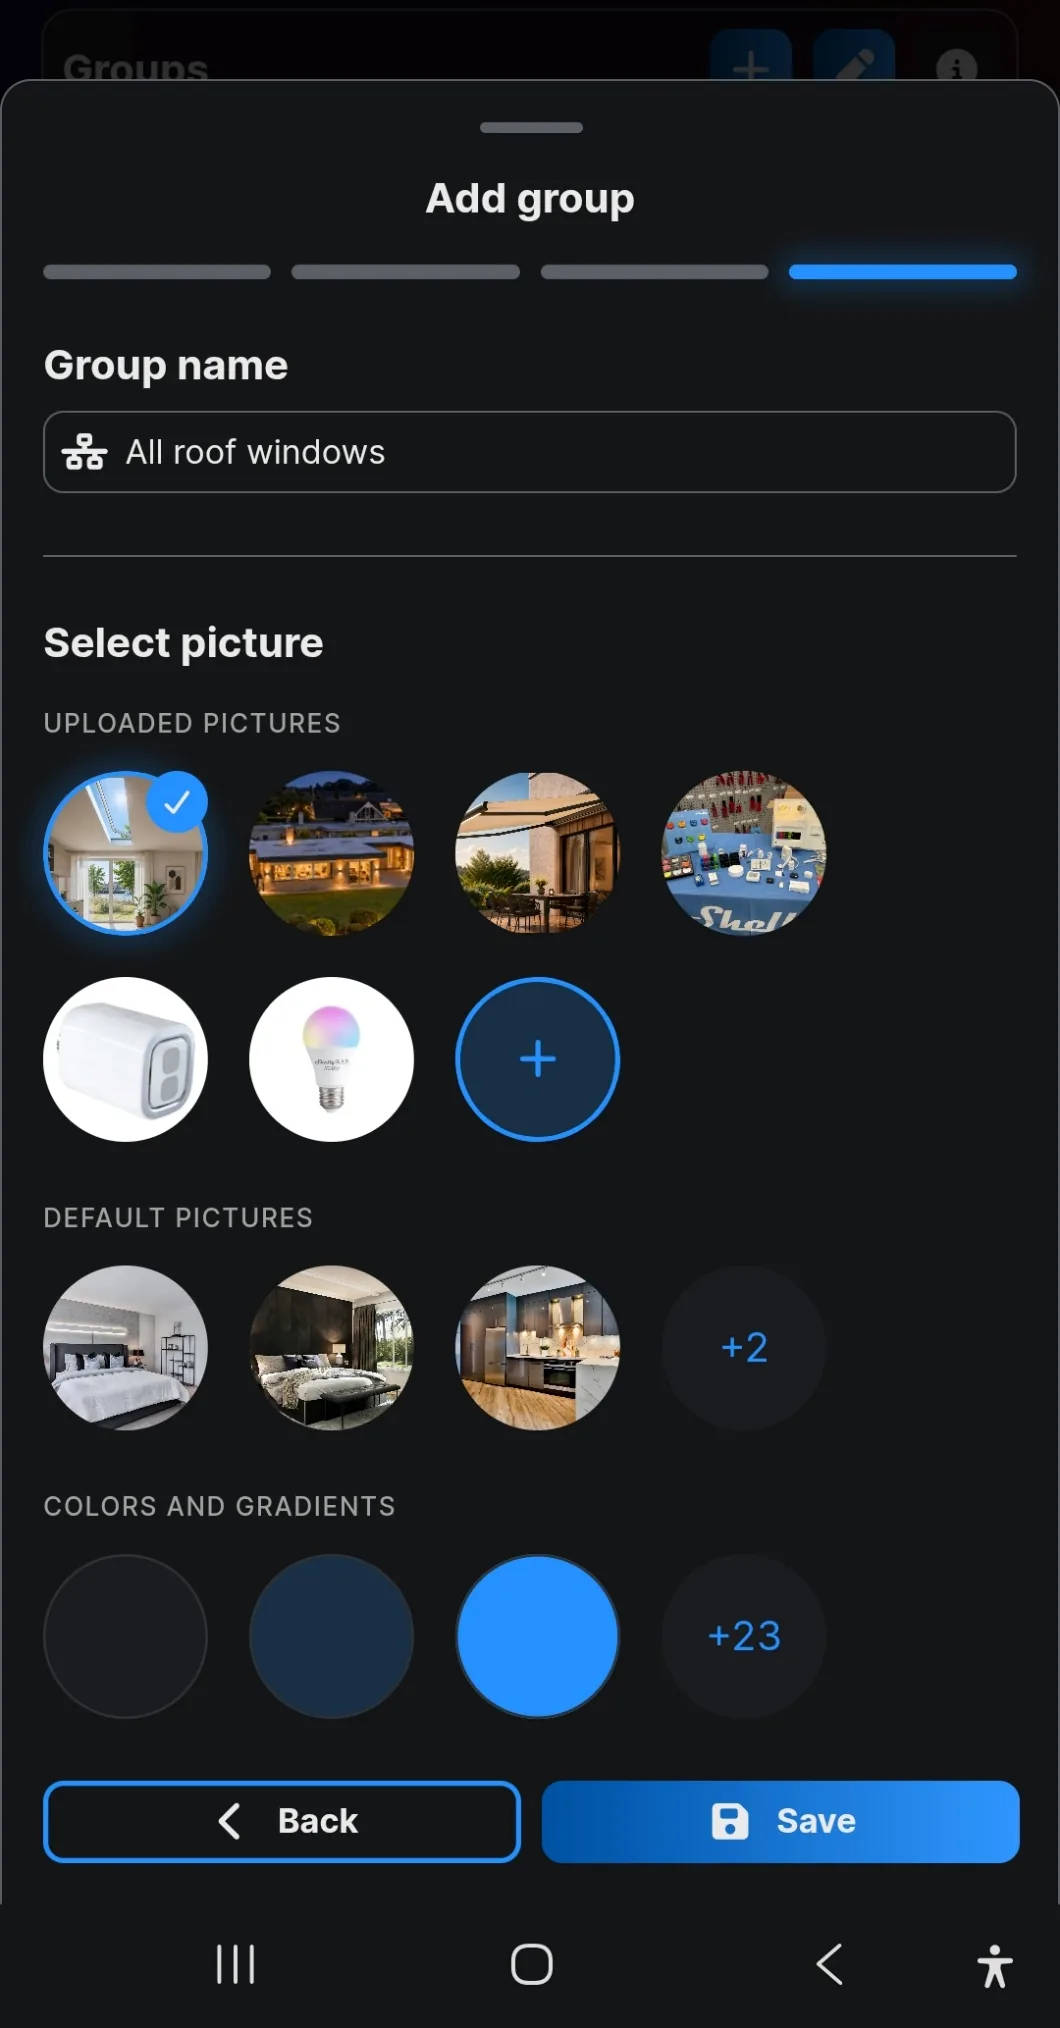
Creating a group and controlling several devices from one control.
Loads YouTube when you press play. Watch on YouTube
By ShellyGuide on YouTube