Wireless dimming
- Home
- Scripting & Virtual components
- Wireless dimming
Wireless dimming between Shelly 230v device with input and Shelly Dimmer 2, Gen3, Pro
In this guide, we describe how to control a Shelly Dimmer 2 wireless from a Shelly Plus I4 input module.
We will be working from the web interface of the Shelly devices.
We will use a script to emulate the dimming functionality. When the script is set up, you get the following functionality:
- Single push: on/off
- Double short push: 100 % light
- Long push: Brightness up/down
If you want to see a video guide, go to the bottom of the page.
Step 1: Access the device's web interface
Find the device’s IP address in your router, via the Shelly Smart Control App or control.shelly.cloud
Access the device’s web interface by typing its IP address into a browser.


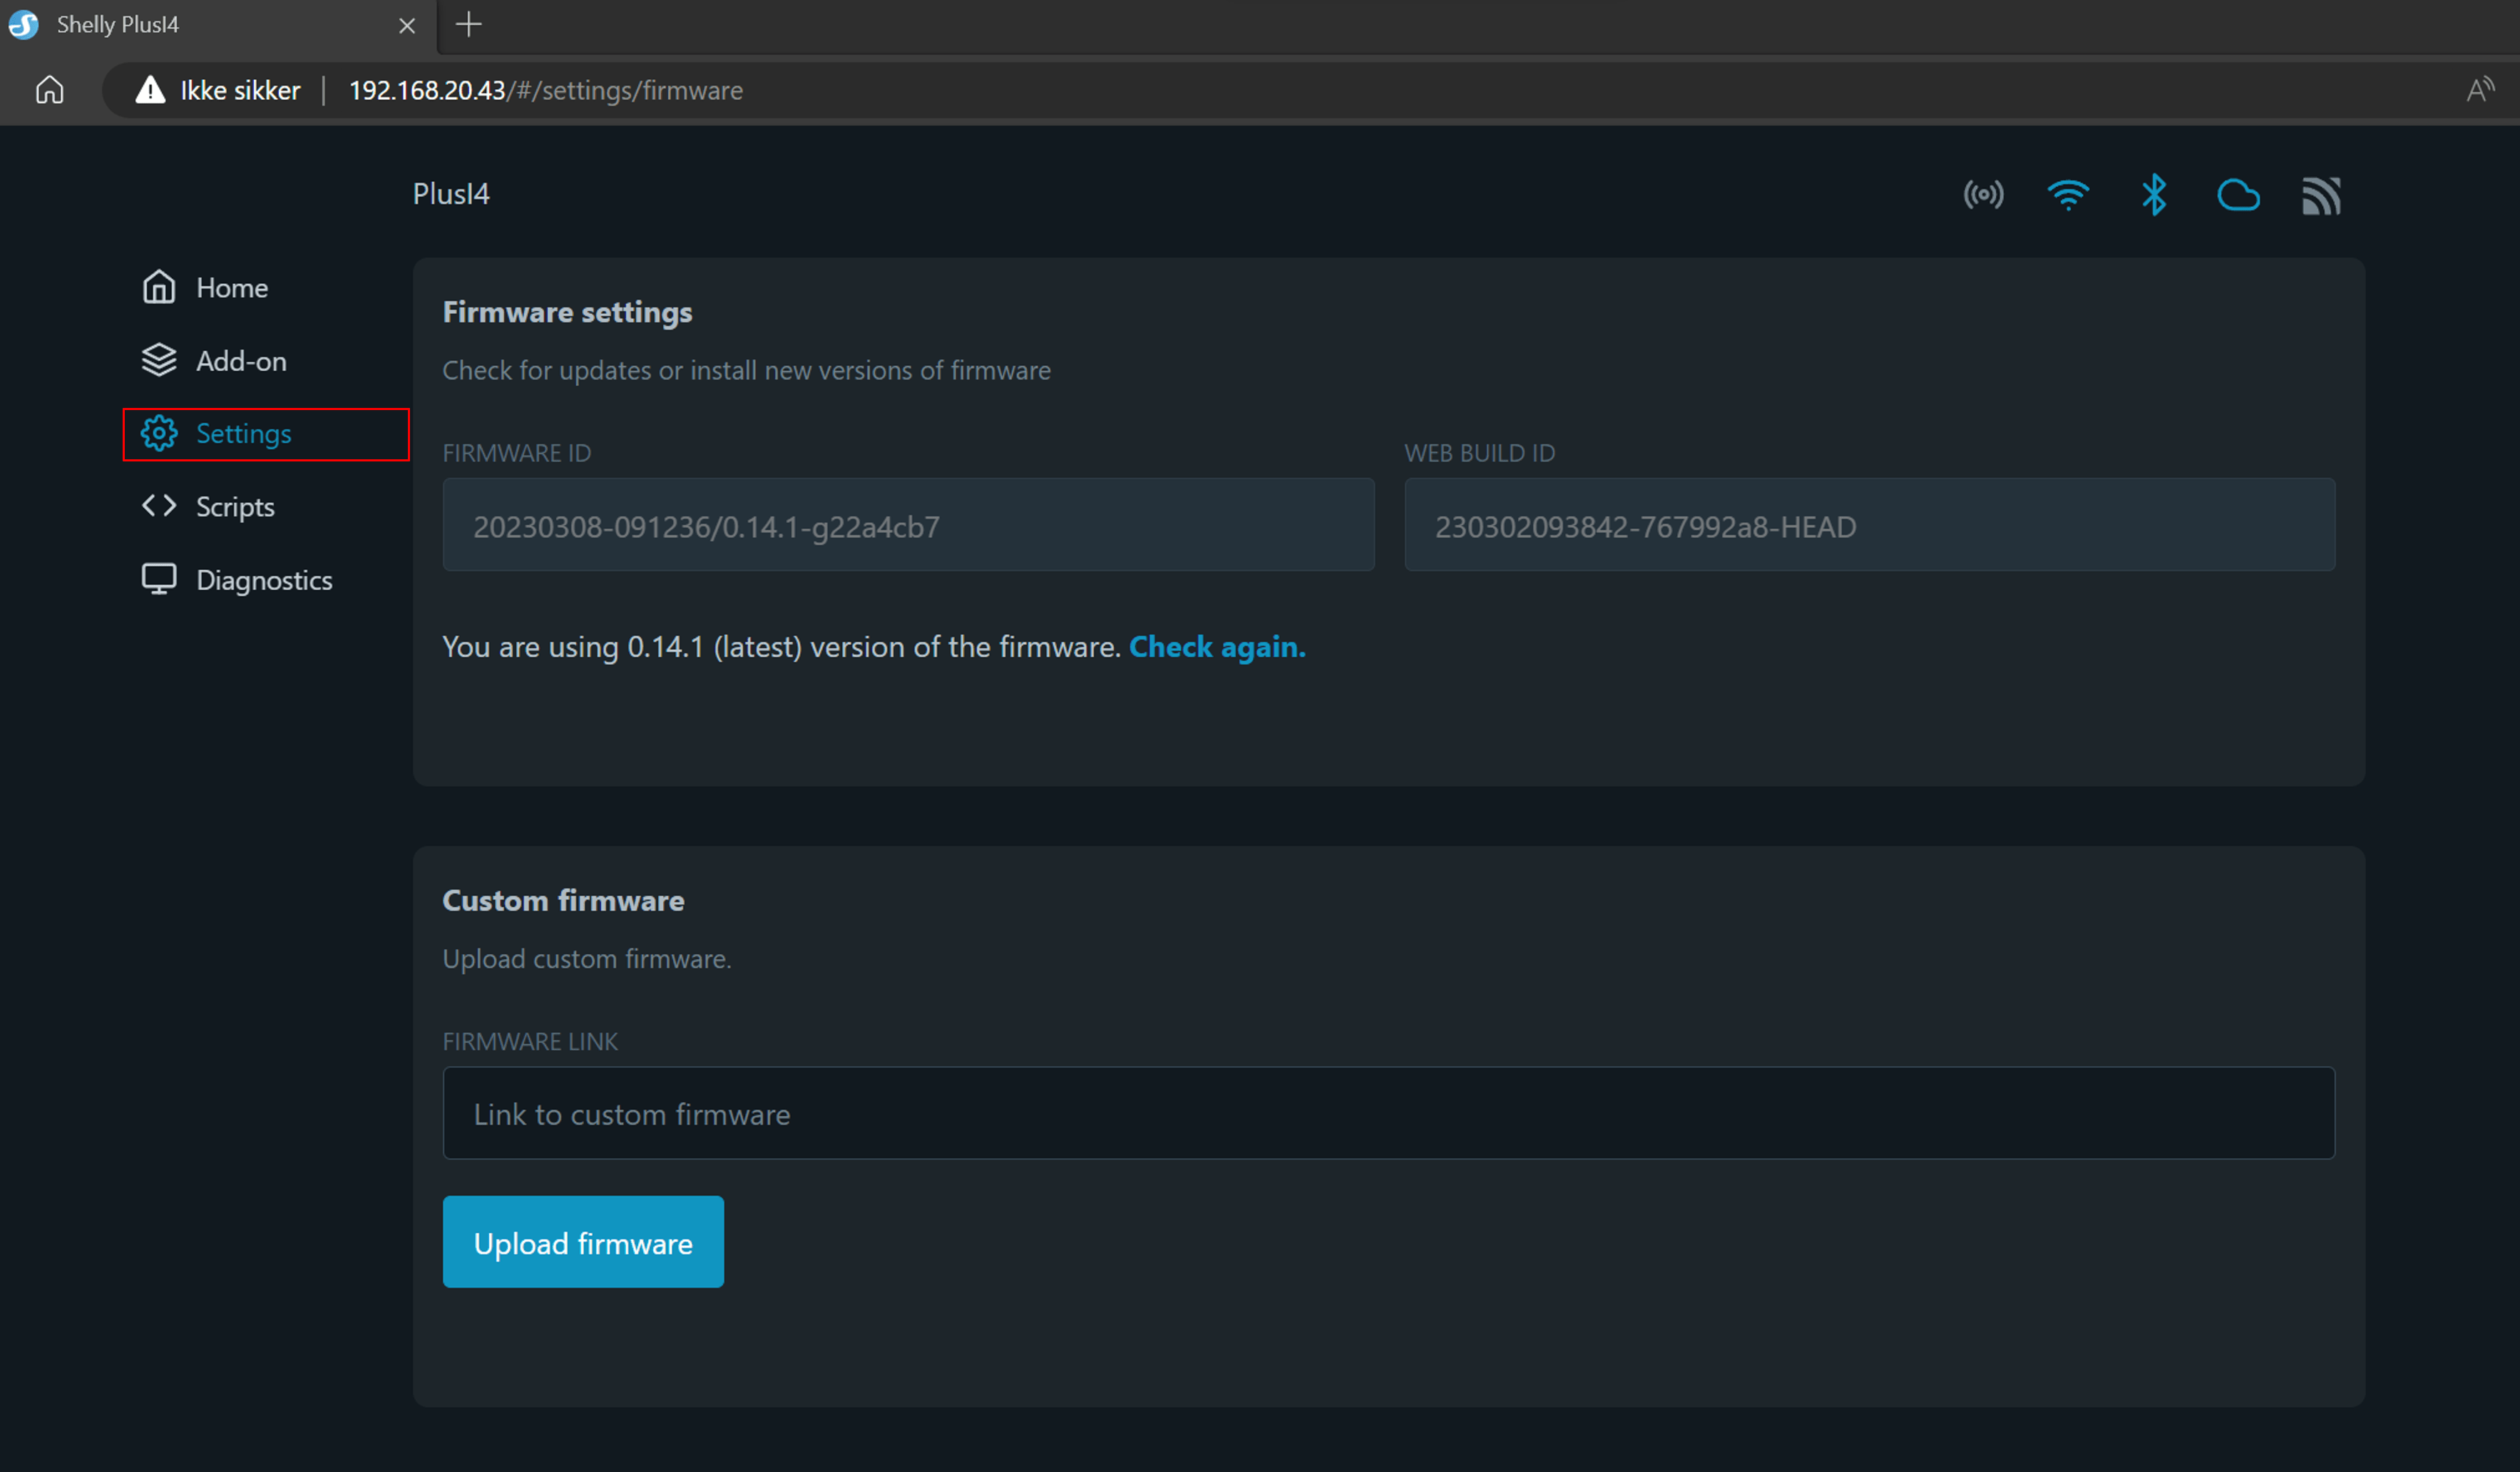
Step 2: update firmware
Make sure your Shelly Plus I4 is updated to the latest firmware.
- Press the “cog wheel”
- Tap firmware
- Update to the latest firmware
Step 3: Set input mode to "button".
- Tap the home icon
- Select the input you want to use
- Press “See more” under Input mode
- Select “Button” under input mode


Step 4: Insert and prepare script
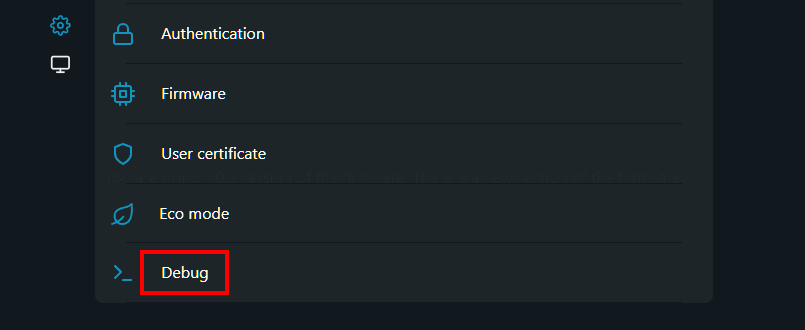
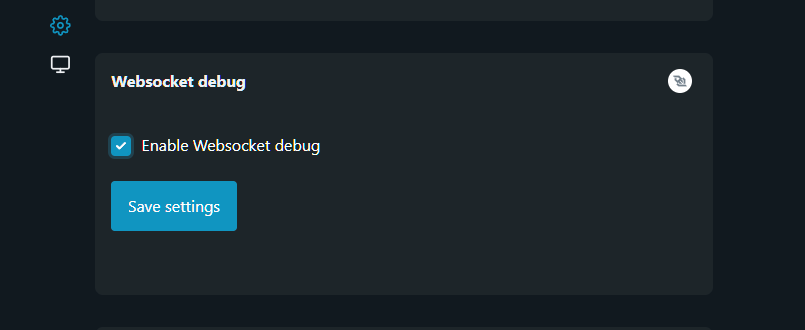
Turn on Websocket debug
In order to see the status in the log, we must first turn on WebSocket debug (this is not necessary).
- Press the “cog wheel”.
- Select Debug.
- Check “Enable Websocket Debug”
- Press “Save Settings”
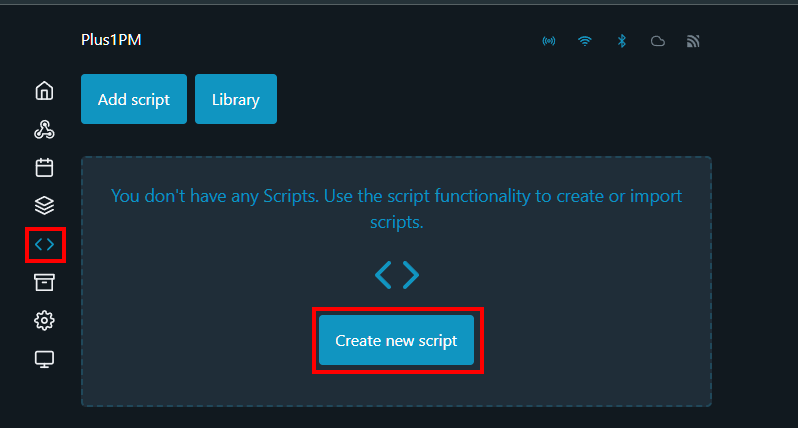
Insert script
- Tap the script icon (<>)
- Press “Create new script”
- Give your script a name
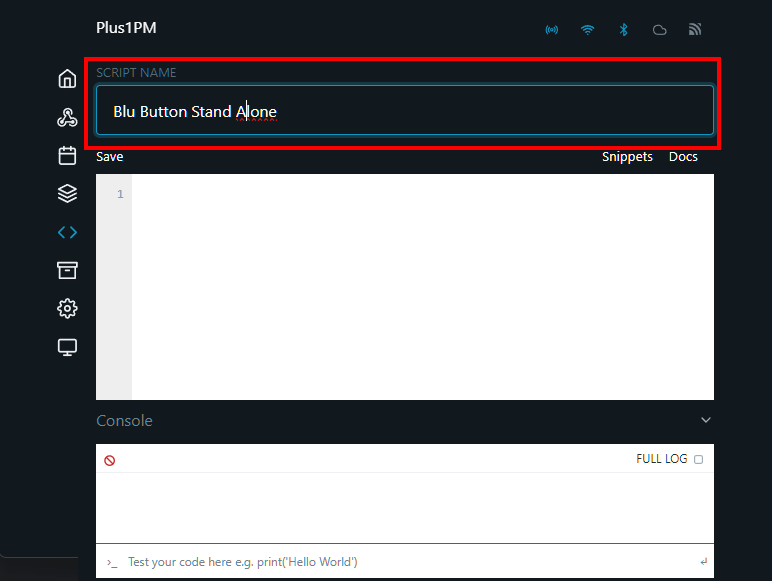
Now copy the entire code below into the new script.
(Press Copy in the top right corner of the script)
Script to control Dimmer 2 (Gen1)
/**
 * @copyright shelly-tools contributors
 * @license   GNU Affero General Public License (https://www.gnu.org/licenses/agpl-3.0.de.html)
 * @authors   https://github.com/shelly-tools/shelly-script-examples/graphs/contributors
 *
 * This script is intended to remote control a Shelly Dimmer / Dimmer2 and emulates the locally connected button.
 * short_press = on/off toggle, double_press = on with 100% brightness, long_press cycle between dimming and brightening.
 */

// Array of dimmers to be controlled
let dimmer = [
    '192.168.2.201', // dimmer controlled with button 0
//    '192.168.61.241', // dimmer controlled with button 1
//    '192.168.61.242', // dimmer controlled with button 2
//    '192.168.61.243', // dimmer controlled with button 3
];
// CONFIG END

let dimstate = [
    false,
    false,
    false,
    false,
];

let up = [
    false,
    false,
    false,
    false,
];

// Add an eventHandler for button type input and various push events
Shelly.addEventHandler(function (event) {
    try {
        if (typeof event.info.event !== 'undefined') {
            let i = event.info.id;

            if (typeof dimmer[i] !== 'undefined') {

                if (dimstate[i] === true && event.info.event === 'btn_up') {
                    dimstate[i] = false;
                    print("release");
                    Shelly.call(
                        "http.get", {
                        url: 'http://' + dimmer[i] + '/light/0?dim=stop'
                    },
                        function (response, error_code, error_message, ud) { },
                        null
                    );
                }

                if (event.info.event === 'single_push') {
                    Shelly.call(
                        "http.get", {
                        url: 'http://' + dimmer[i] + '/light/0?turn=toggle'
                    },
                        function (rs, ec, em) { },
                        null
                    );
                } else if (event.info.event === 'double_push') {
                    Shelly.call(
                        "http.get", {
                        url: 'http://' + dimmer[i] + '/light/0?turn=on&brightness=100'
                    },
                        function (rs, ec, em) { },
                        null
                    );
                } else if (event.info.event === 'long_push' && up[i]) {
                    dimstate[i] = true;
                    up[i] = false;
                    print("cycle");
                    Shelly.call(
                        "http.get", {
                        url: 'http://' + dimmer[i] + '/light/0?dim=down&step=100'
                    },
                        function (rs, ec, em) { },
                        null
                    );

                } else if (event.info.event === 'long_push' && up[i] === false) {
                    dimstate[i] = true;
                    up[i] = true;
                    print("cycle");
                    Shelly.call(
                        "http.get", {
                        url: 'http://' + dimmer[i] + '/light/0?dim=up&step=100'
                    },
                        function (rs, ec, em) { },
                        null
                    );
                }

                else {
                    return true;
                }
            }
        } else {
            return true;
        }
    } catch (e) {
        print("Fejl i event handler: " + e.message);
    }
});
Script to control Dimmer Gen3 and Pro Dimmer 1PM/2PM)
In this script we chose the ip adress of the device we want to control and the channel/output of the device.
Now copy the entire code below into the new script.
(Press Copy in the top right corner of the script)
/**
 * Remote control of a Shelly Dimmer Gen3 Shelly Pro Dimmer 1PM/2PM
 * short_press = on/off toggle, double_press = on at 100% brightness, long_press = dimming.
 */

// Add here which Device(ip adress) and channel you want to control
// Channel 0 = output 1, channle 1 = output 2.
// Set IP to 0.0.0.0 to disable
let devices = [
    { ip: '192.168.2.169', channel: 0 },
    { ip: '192.168.2.170', channel: 0 },
    { ip: '0.0.0.0',       channel: 0 },
    { ip: '0.0.0.0',       channel: 1 }
];

// State arrays
let dimstate = [ false, false, false, false ];
let up       = [ false, false, false, false ];

// Handle button input events
Shelly.addEventHandler(function (event) {
    try {
        if (typeof event.info.event === 'undefined') {
            return true;
        }

        let i   = event.info.id;    // input ID (0–3)
        let ev  = event.info.event; // event name
        let dev = devices[i];       // device configuration for this input

        // If there is no device configured or IP is '0.0.0.0', do nothing
        if (!dev || !dev.ip || dev.ip === '0.0.0.0') {
            print("Input " + i + ": No device configured or IP=0.0.0.0 → nothing done");
            return true;
        }

        let ip = dev.ip;
        let ch = dev.channel;

        // Always log the received event
        print("Input " + i + ": Received event '" + ev + "' → controlling IP " + ip + " channel " + ch);

        // STOP dimming cycle on button release (btn_up)
        if (dimstate[i] && ev === 'btn_up') {
            dimstate[i] = false;
            print("Input " + i + ": Stopping dim cycle (DimStop) on " + ip + " channel " + ch);
            Shelly.call("http.get", {
                url: 'http://' + ip + '/rpc/Light.DimStop?id=' + ch
            }, null, null);
            return true;
        }

        // SINGLE_PRESS: toggle on/off
        if (ev === 'single_push') {
            print("Input " + i + ": Sending toggle command to " + ip + " channel " + ch);
            Shelly.call("http.get", {
                url: 'http://' + ip + '/light/' + ch + '?turn=toggle'
            }, null, null);

        // DOUBLE_PRESS: turn on at 100% brightness
        } else if (ev === 'double_push') {
            print("Input " + i + ": Sending light.set (100% ON) to " + ip + " channel " + ch);
            Shelly.call("http.get", {
                url: 'http://' + ip + '/rpc/light.set?id=' + ch + '&on=true&brightness=100'
            }, null, null);

        // LONG_PRESS: start dimming cycle (down or up)
        } else if (ev === 'long_push') {
            dimstate[i] = true;
            up[i] = !up[i];  // flip direction each time a long press happens

            if (up[i]) {
                print("Input " + i + ": Starting DimUp on " + ip + " channel " + ch);
                Shelly.call("http.get", {
                    url: 'http://' + ip + '/rpc/Light.DimUp?id=' + ch + '&fade_rate=4'
                }, null, null);
            } else {
                print("Input " + i + ": Starting DimDown on " + ip + " channel " + ch);
                Shelly.call("http.get", {
                    url: 'http://' + ip + '/rpc/Light.DimDown?id=' + ch + '&fade_rate=4'
                }, null, null);
            }

        } else {
            // If it’s another event (e.g., btn_down), ignore here
            print("Input " + i + ": Unhandled event '" + ev + "'");
            return true;
        }

    } catch (e) {
        print("Error in event handler: " + e.message);
    }
});
Step 5a: Configure script
Find and change IP address
After
Before
When the script is pasted, navigate to lines 12-15.
There are four lines containing IP addresses. Each line/IP address corresponds to an input on the Shelly I4.
If you want the first input (0) on the I4 to control a Dimmer 2 with the IP address 192.168.1.34, you need to modify the IP in the first line to match.
If you also want input 2 (1) to operate another Dimmer 2, remove the double slashes // and update that line with the IP address of the corresponding Dimmer 2. Repeat this process for the remaining inputs.
It’s basically the same with the script for Gen3 and Pro dimmer
let dimmer = [
    '192.168.61.240', // dimmer controlled with button 0
//    '192.168.61.241', // dimmer controlled with button 1
//    '192.168.61.242', // dimmer controlled with button 2
//    '192.168.61.243', // dimmer controlled with button 3
let dimmer = [
'192.168.1.34', // dimmer controlled with button 0
'192.168.1.57', // dimmer controlled with button 1
// '192.168.61.242', // dimmer controlled with button 2
// '192.168.61.243', // dimmer controlled with button 3 Step 6: Closing
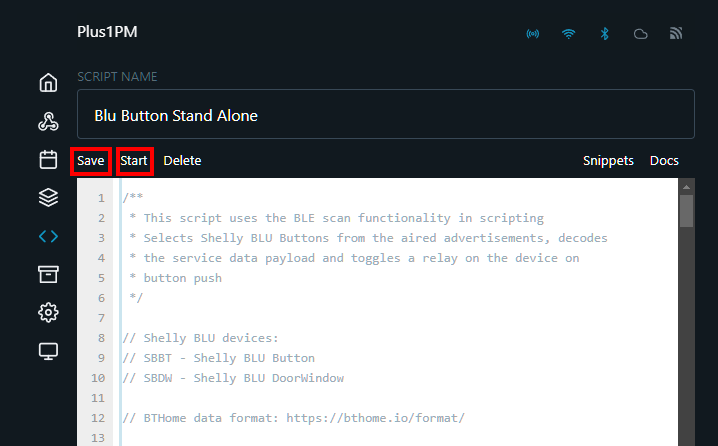
Save script
- After this, press “Save” and “Start” at the top
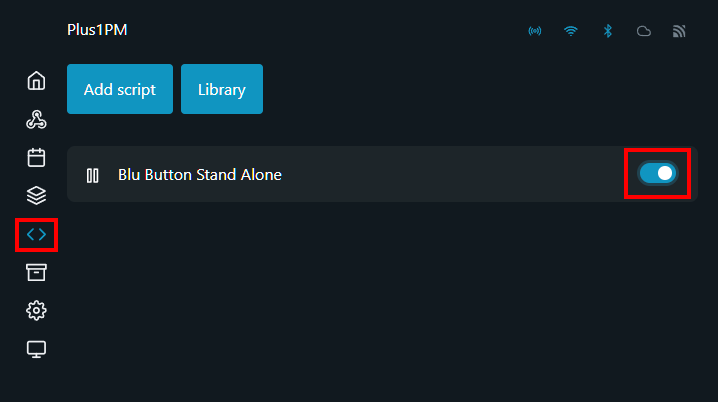
- Press the script icon again
- In addition to the script name, the button to the right must be active in order for the script to start automatically after a power cut
Now, you’re done.